Free delivery, French manufacturing, Satisfied customers
Free delivery, French manufacturing, Satisfied customers
Um Ihr ICO zu installieren und einzurichten, sehen Sie sich das Video unten an oder folgen Sie dem detaillierten Verfahren. Wichtig ist auch, dass Sie sich das ganze Jahr über die Wartungsbedingungen für Ihr ICO ansehen.
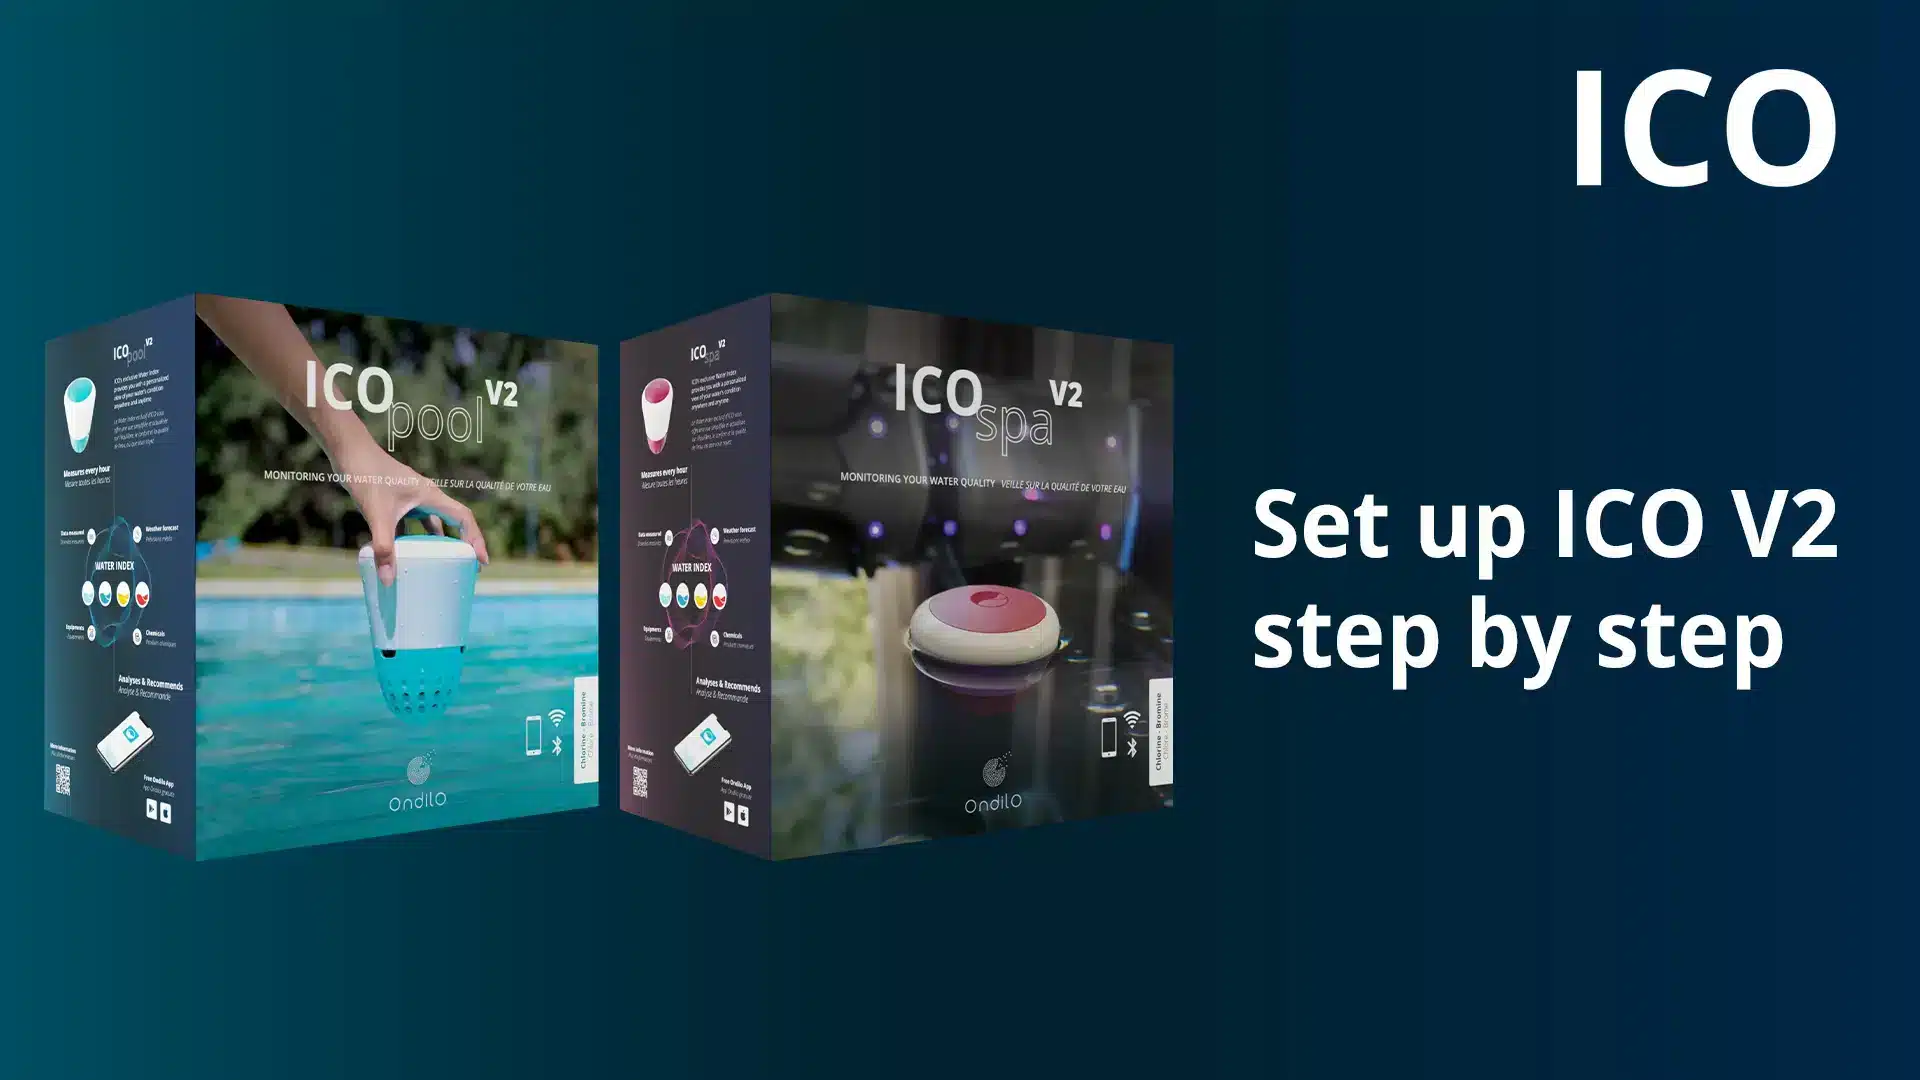


Quickstart ICO V1
Quickstart ICO V2
Step 1: download and configure the ICO application
Etape 2 : allumer et régénérer les sondes de ICO
Stage 3: Getting ICO into the water
Step 4: connect ICO to the wifi
Stage 5: Launching the first measures
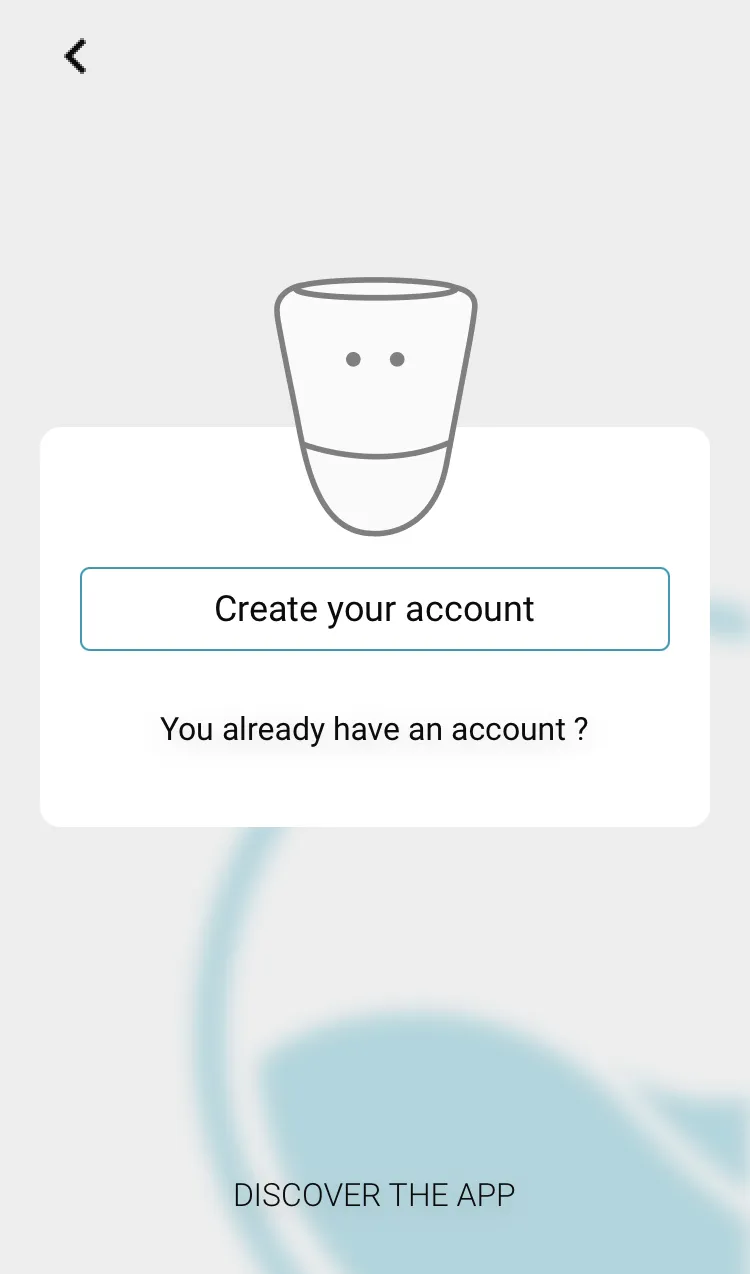
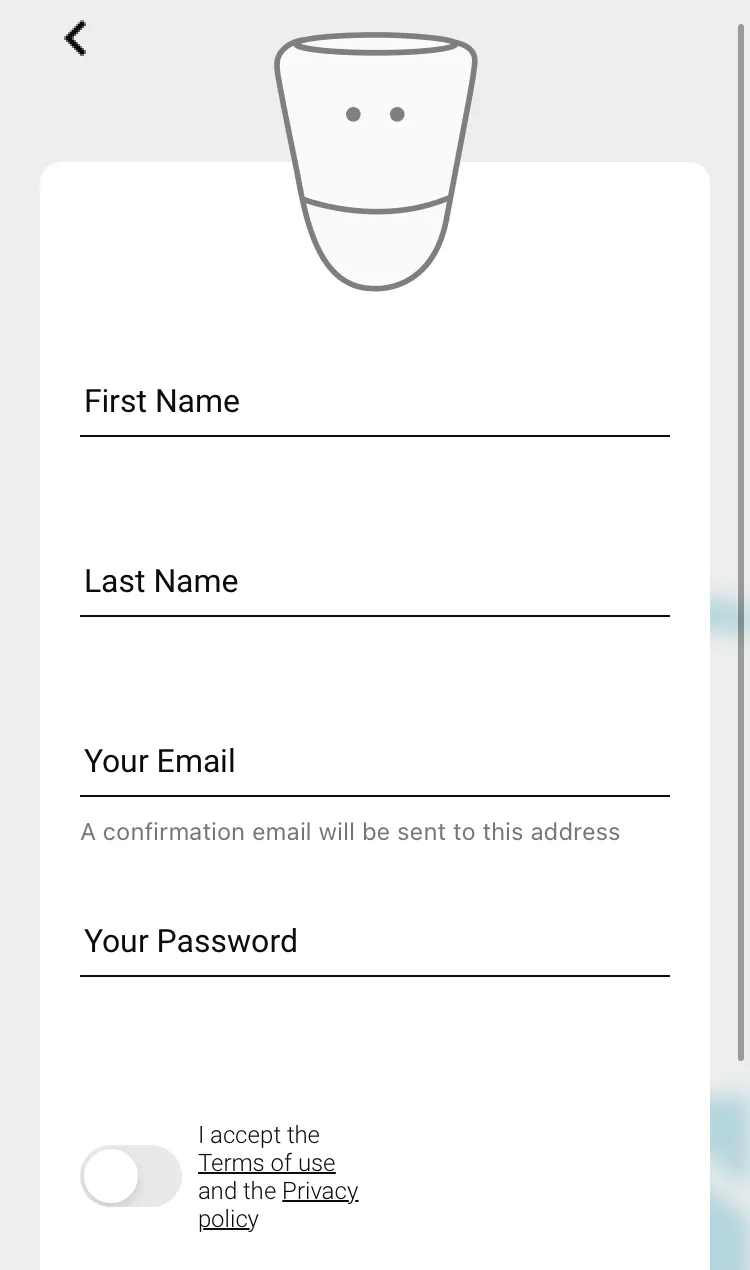
Download the application and open it on your mobile


To create an account, you must accept the terms of use and privacy policy.
Click on the + that appears on your screen

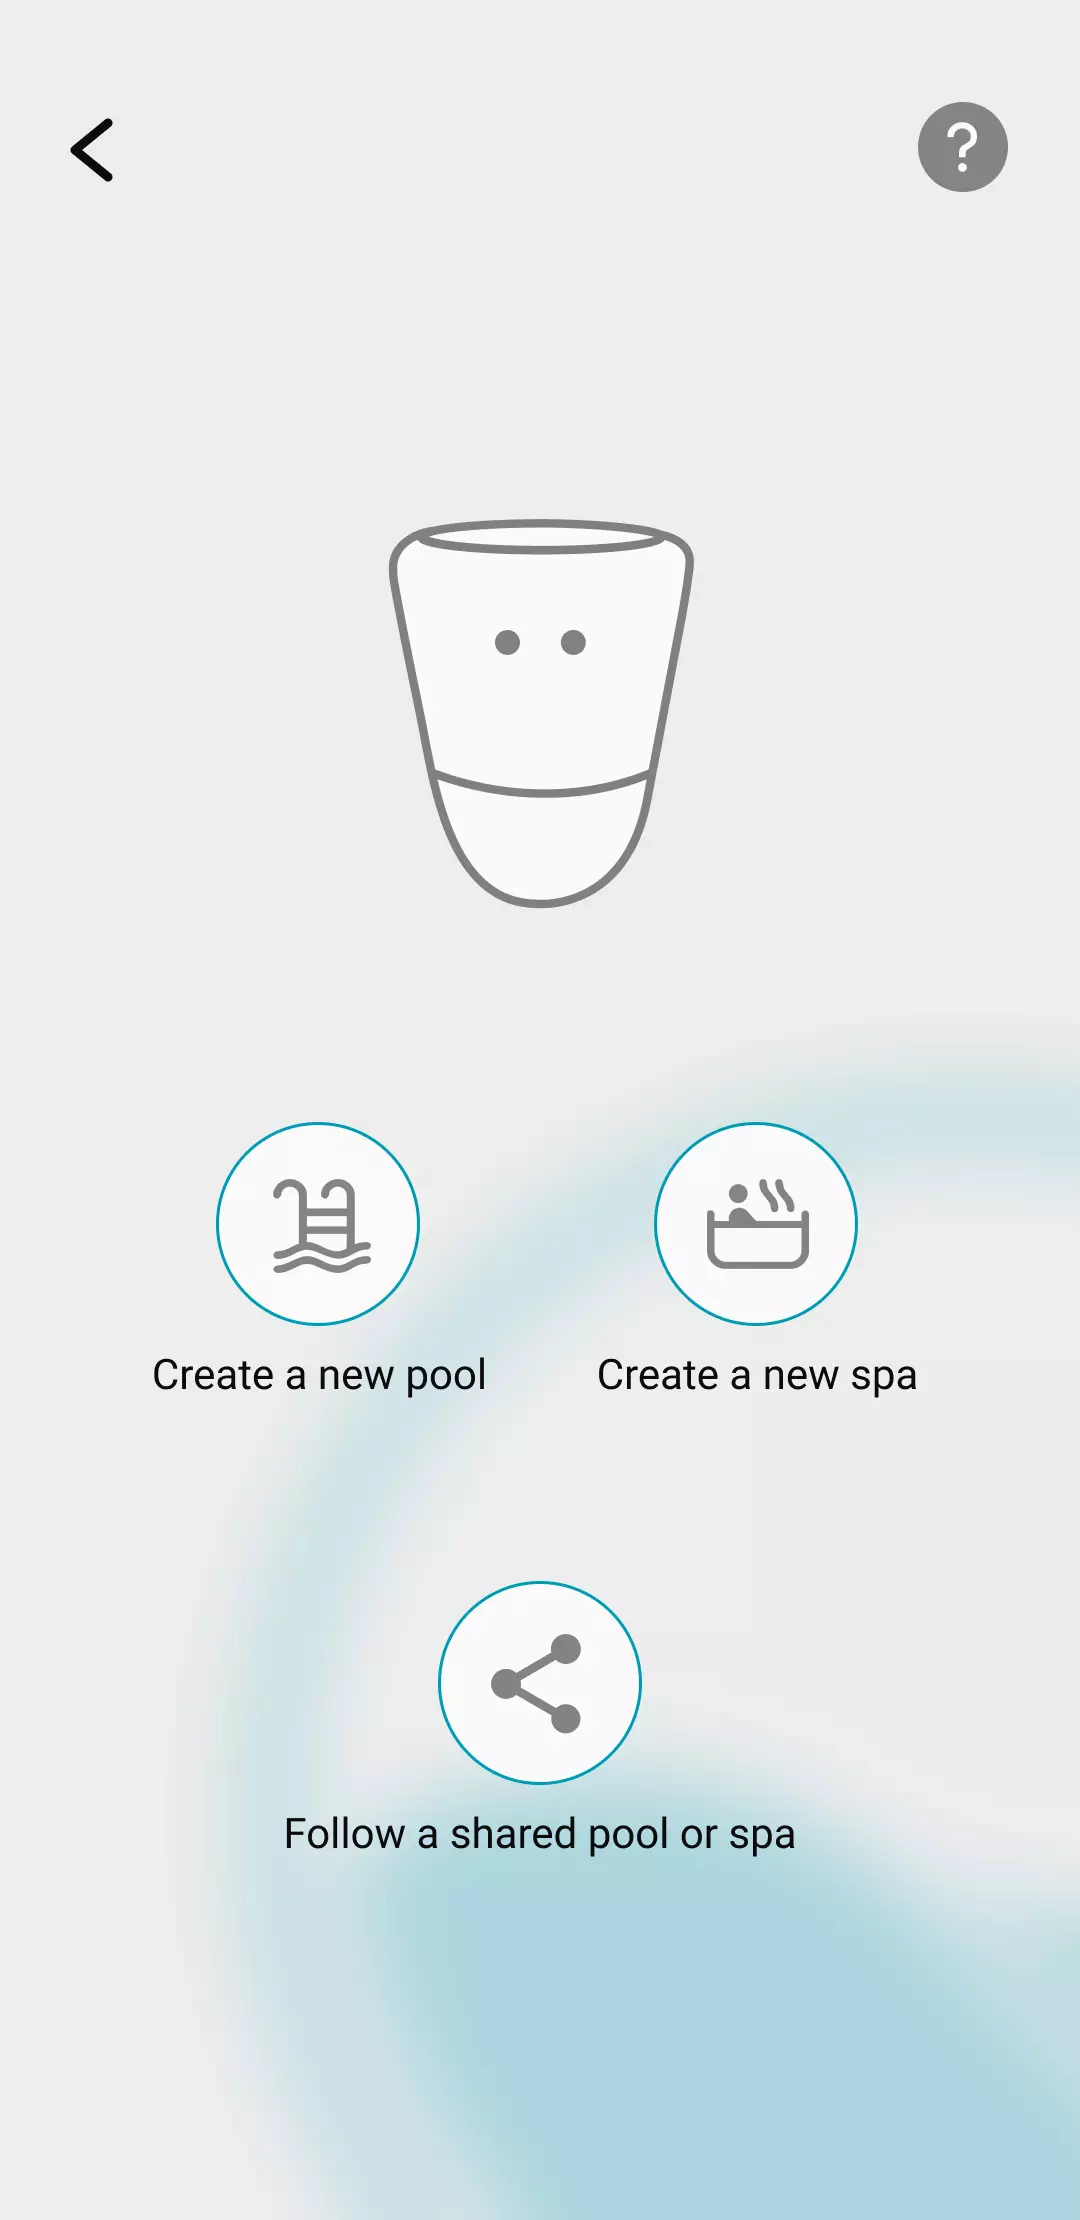
This profile will be automatically associated with the user account.
Enter the name of the pool, its location, its characteristics: volume, type of pool and type of disinfection
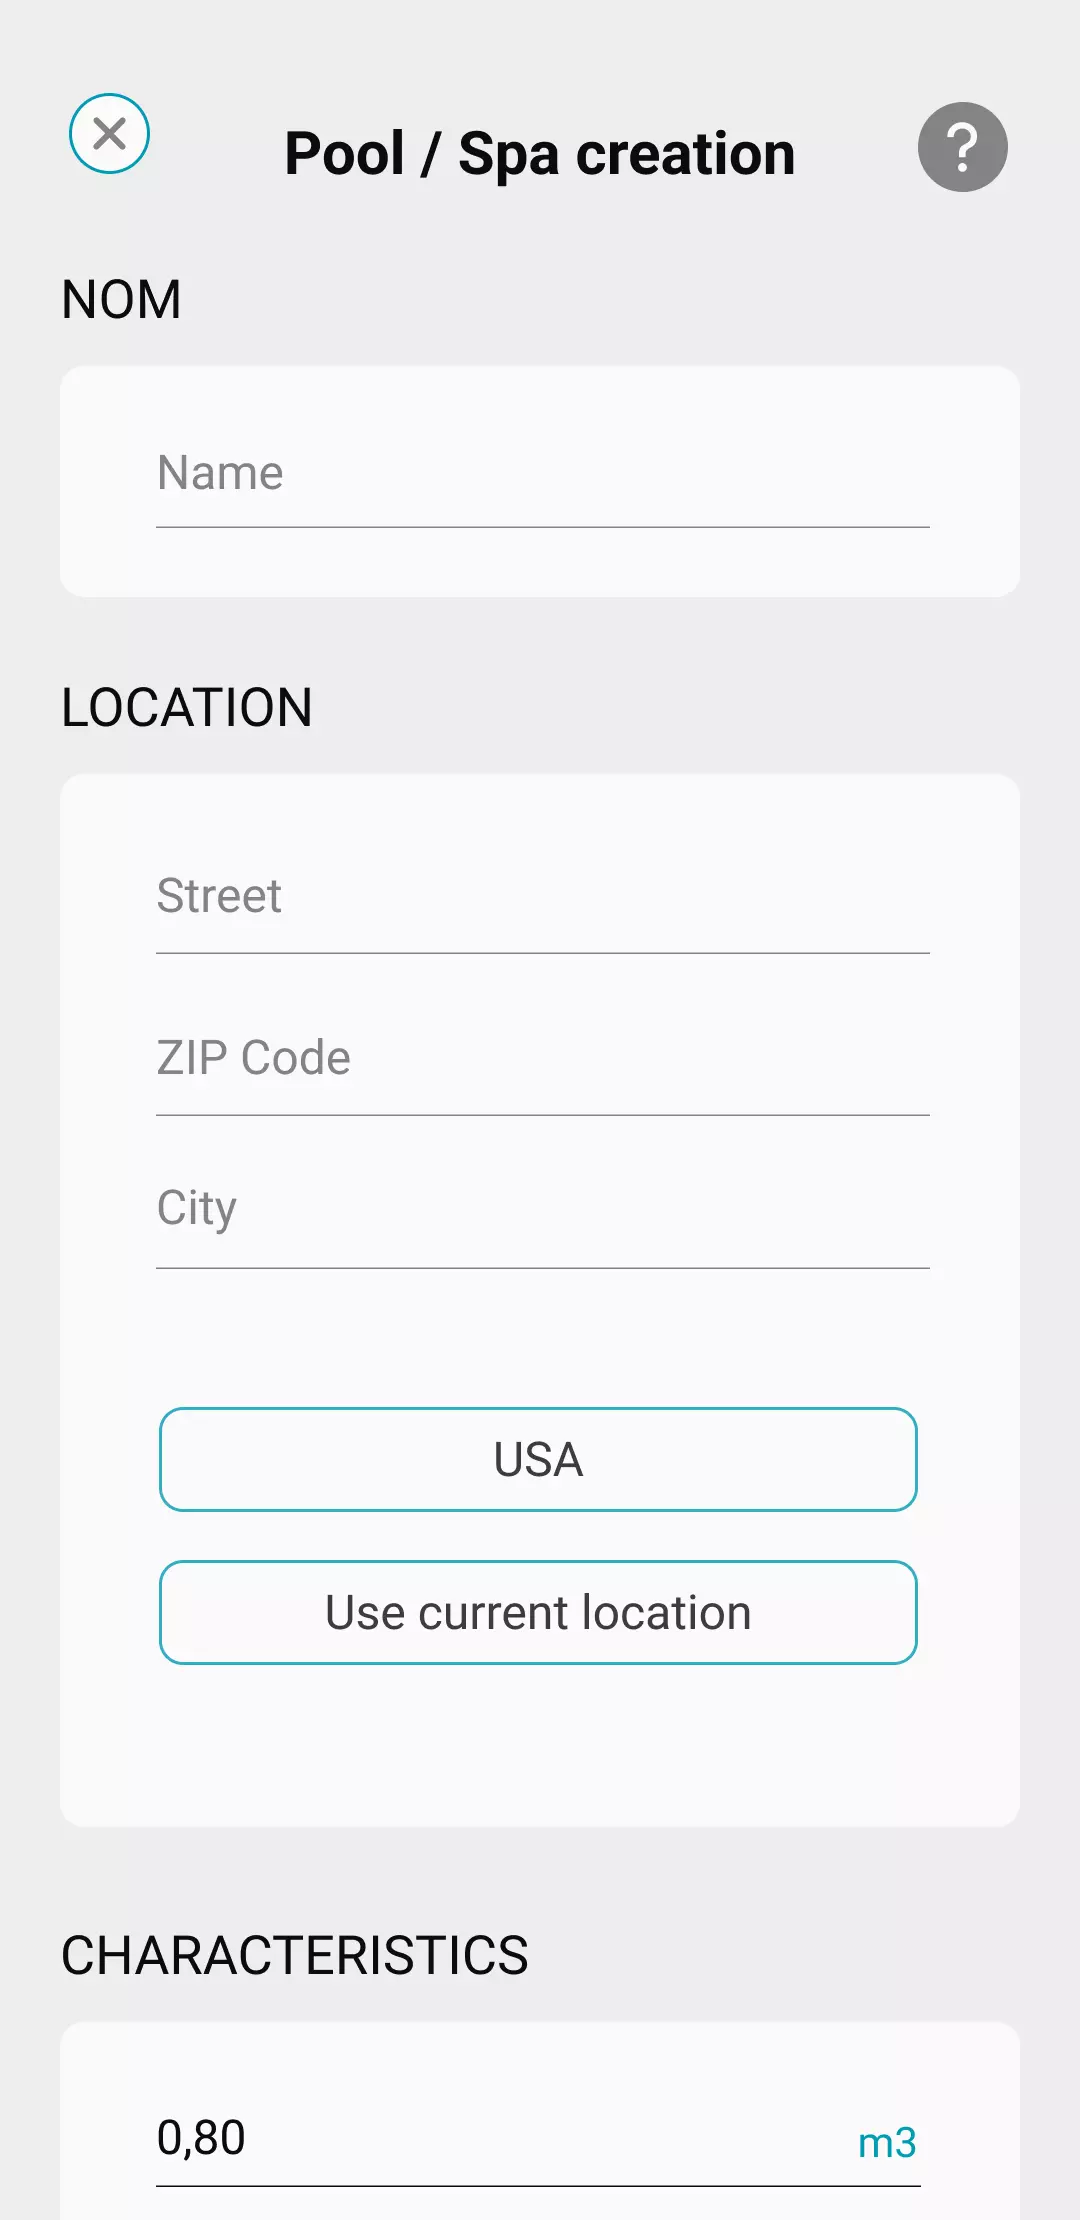
Then click on "Save"
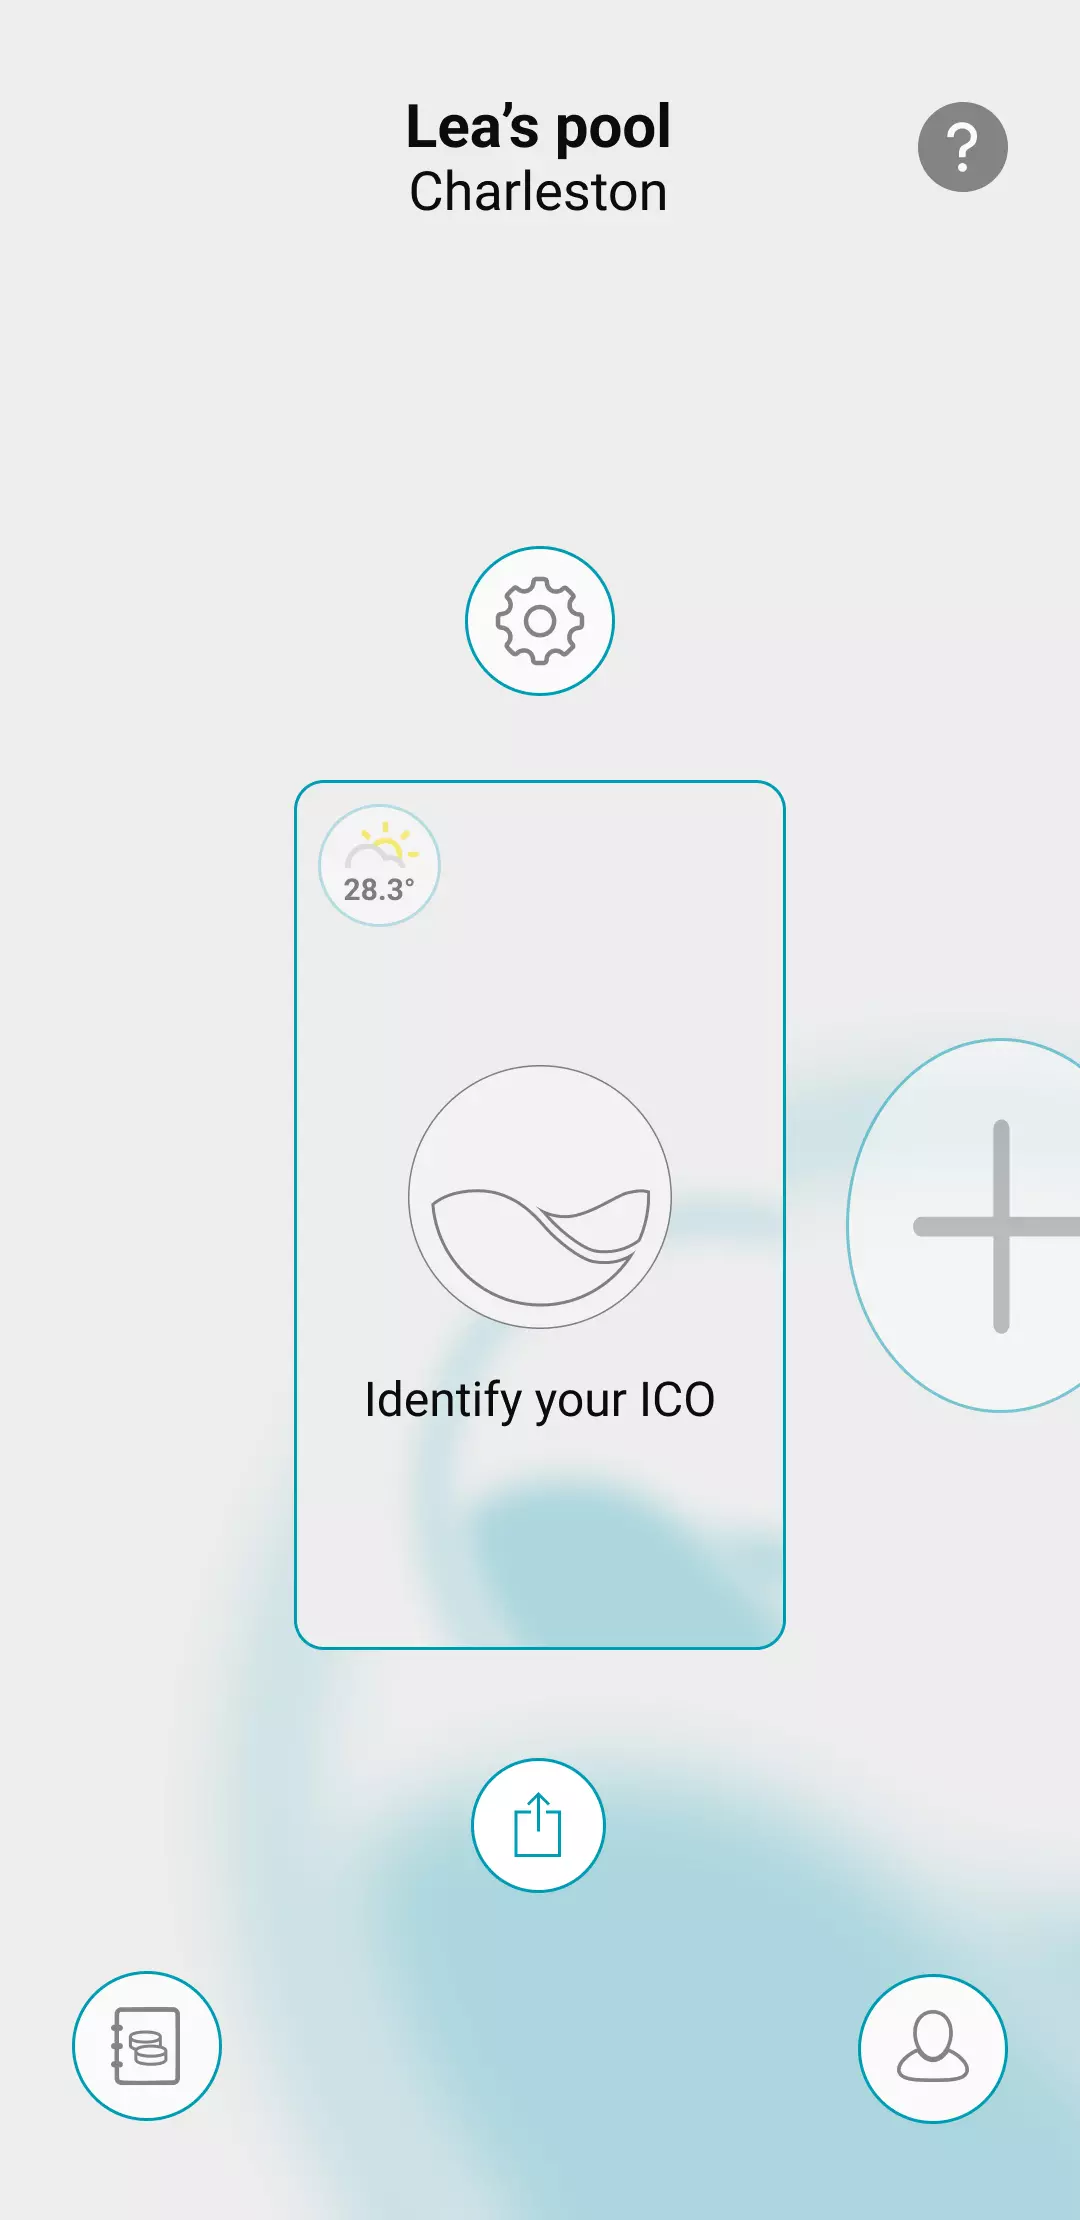
To associate your ICO with your user account , click Identify your ICO.
You can click on Scan my QR code or enter the UUID, both of which you will find inside the ICO box.
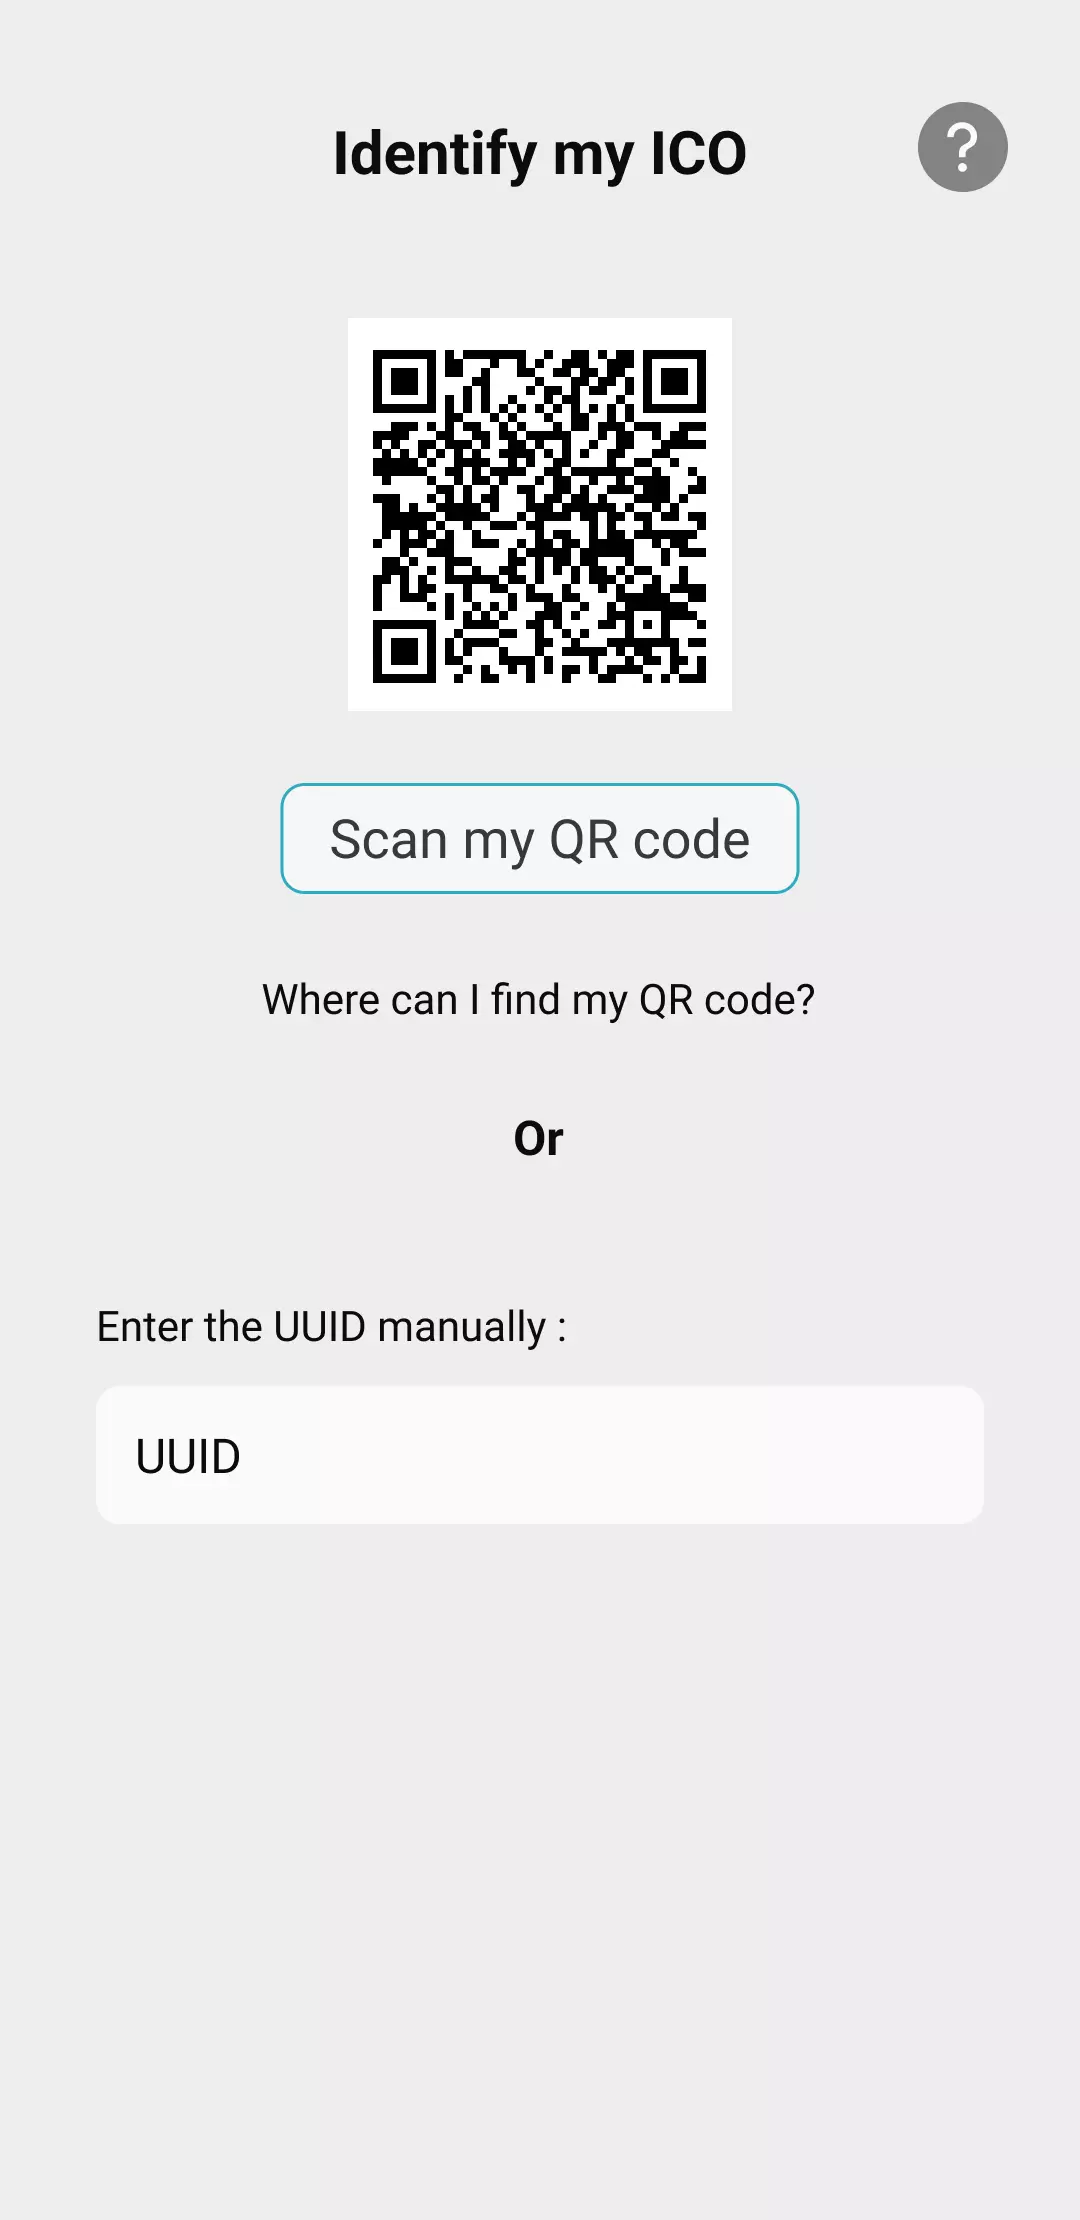
If you can't scan the QR code, go to this page.
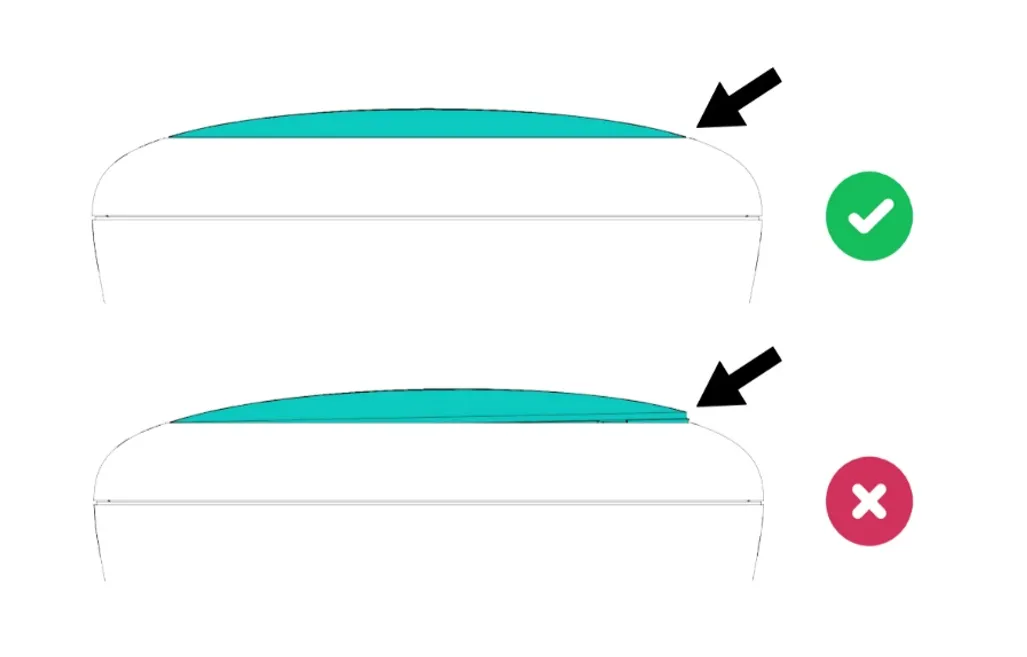
Open the top cover of your ICO using the small screwdriver provided in the Ondilo box. Remove the intermediate cover.
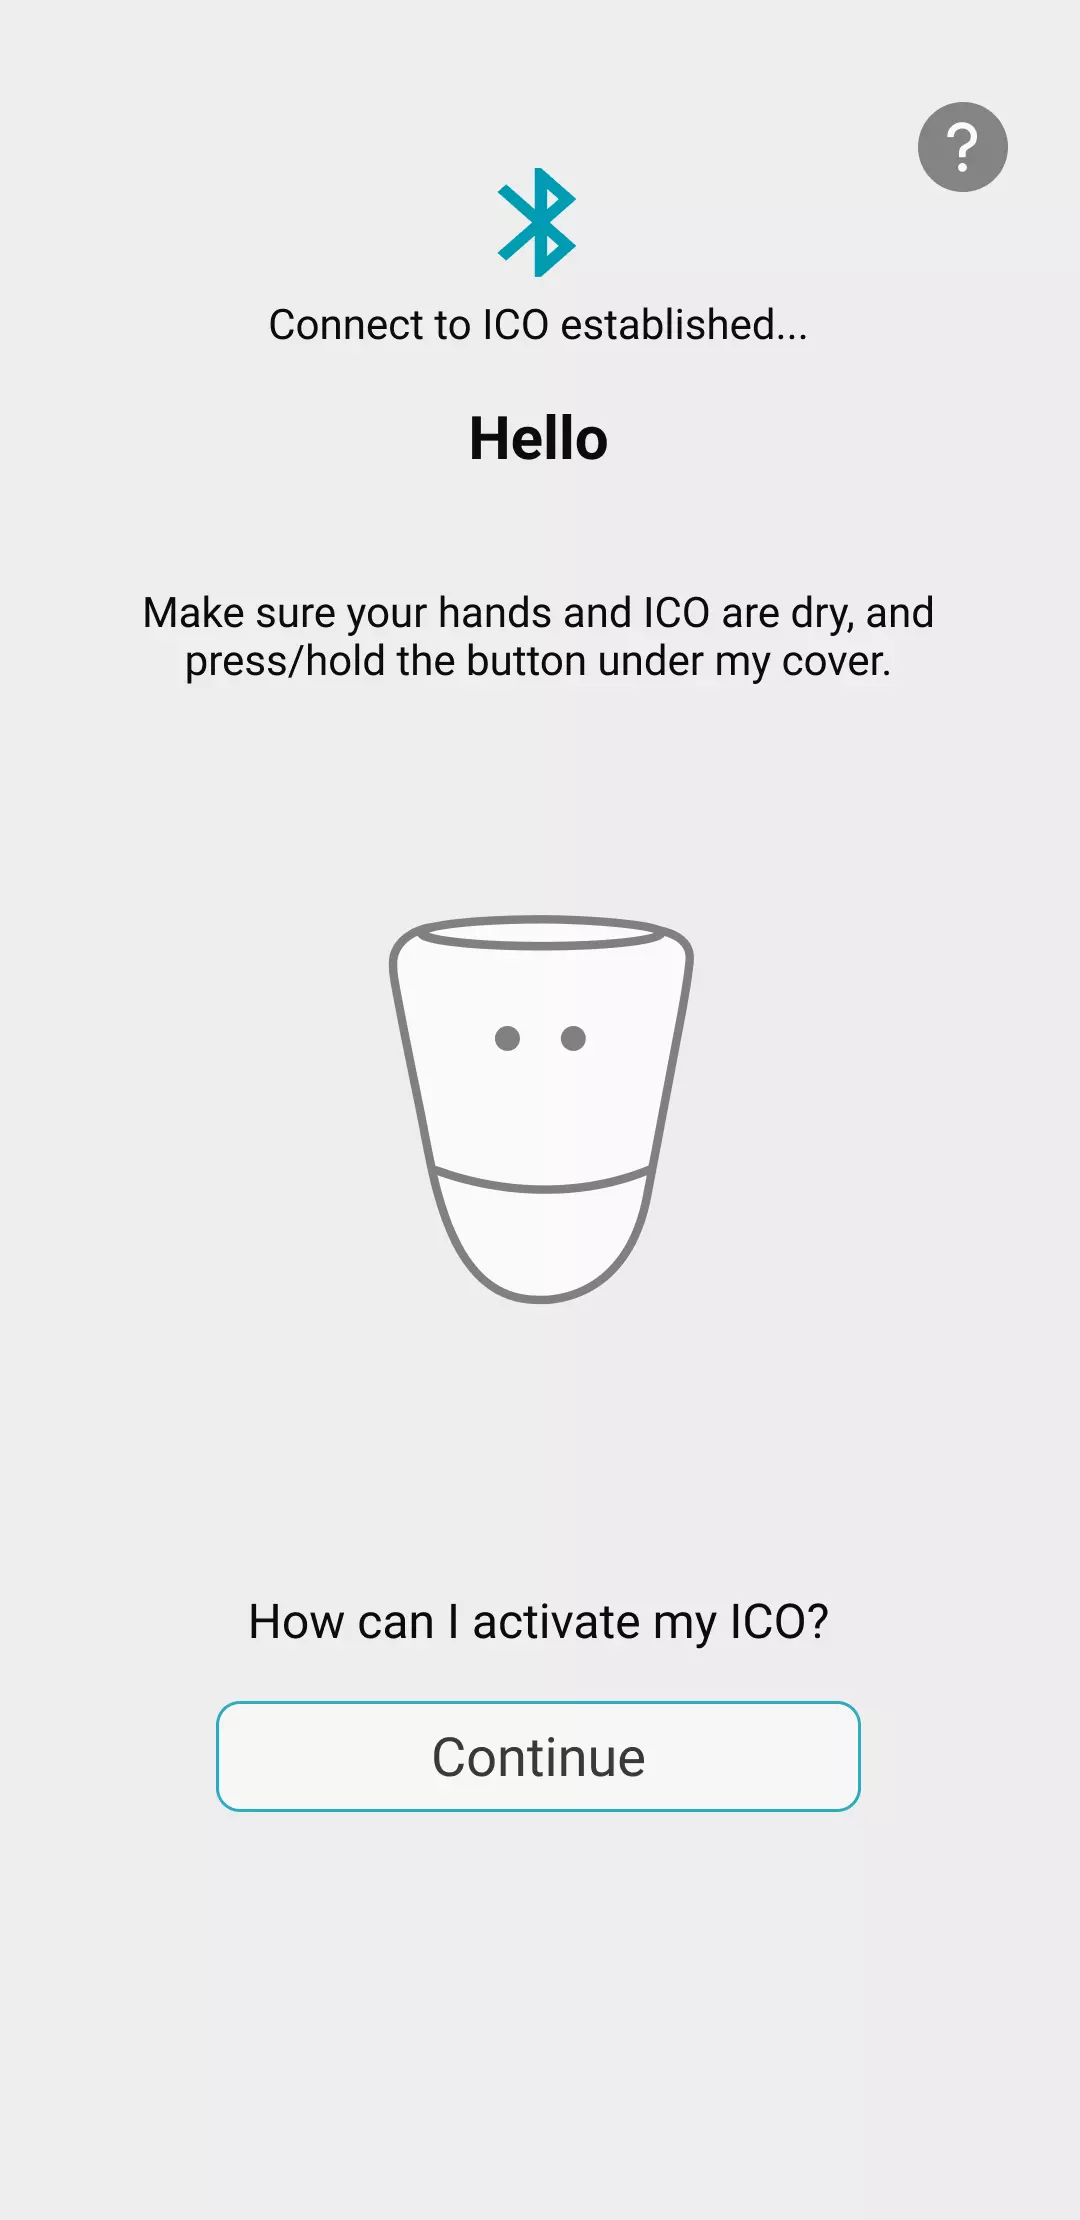
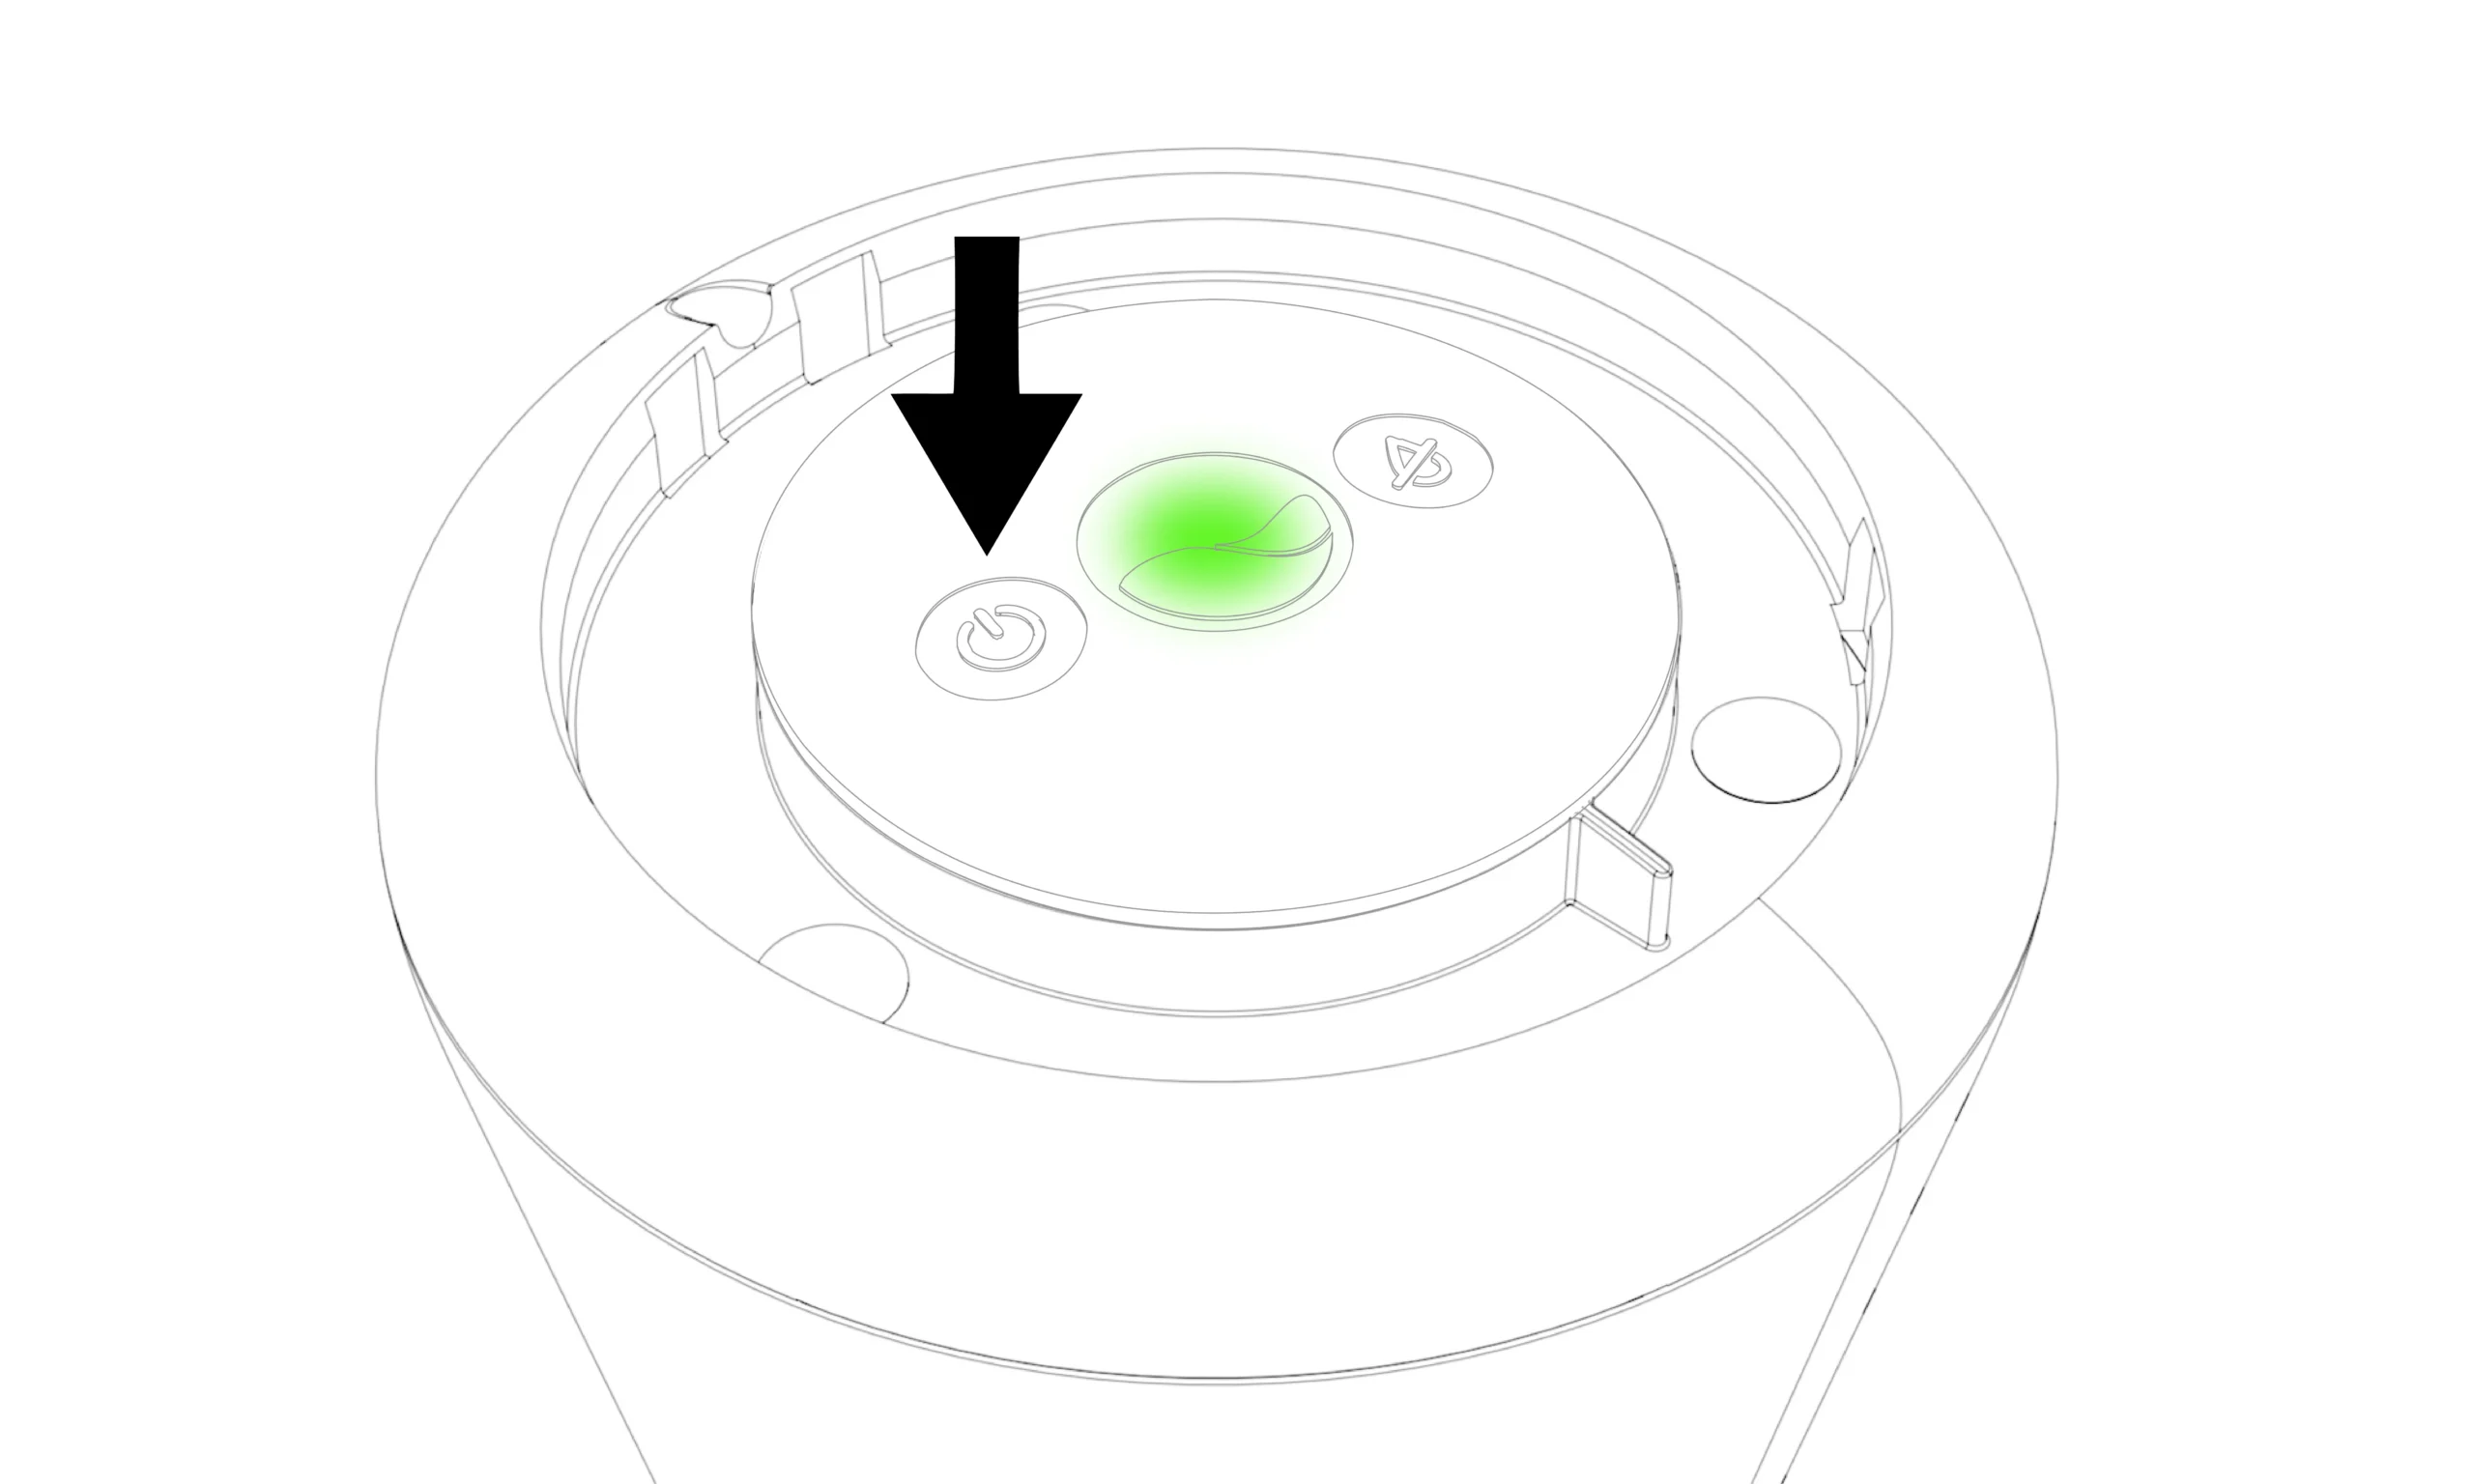
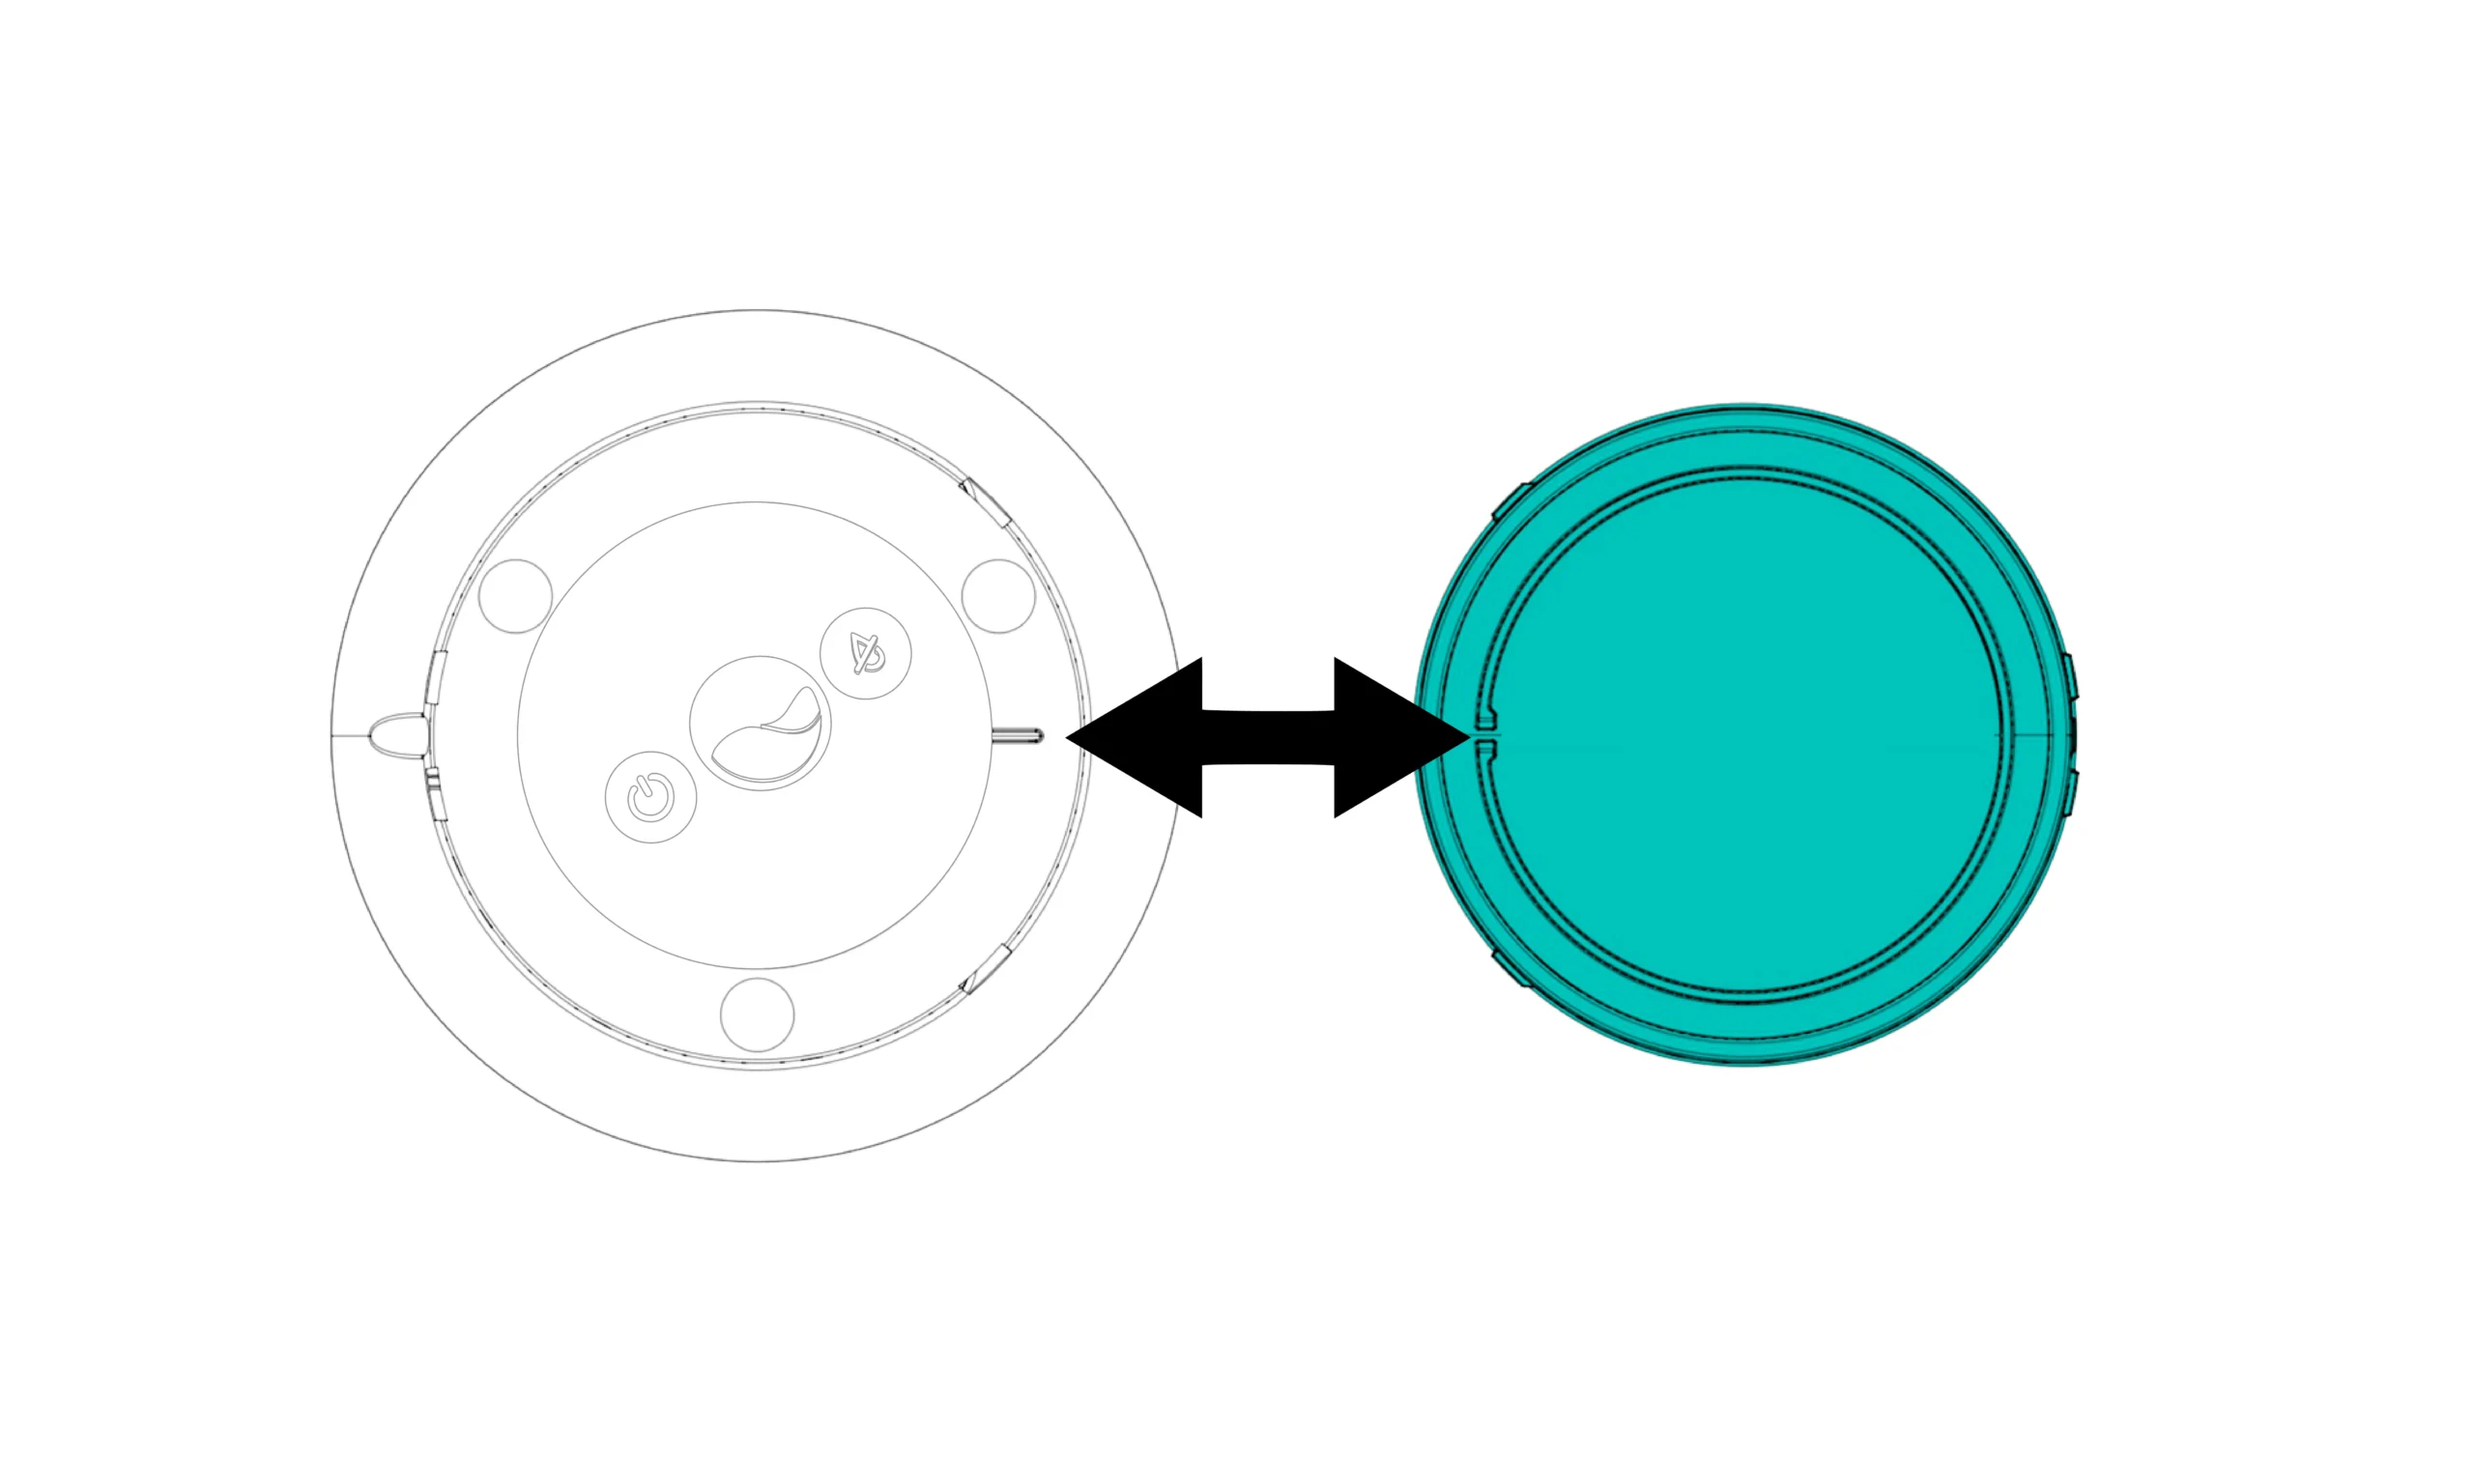
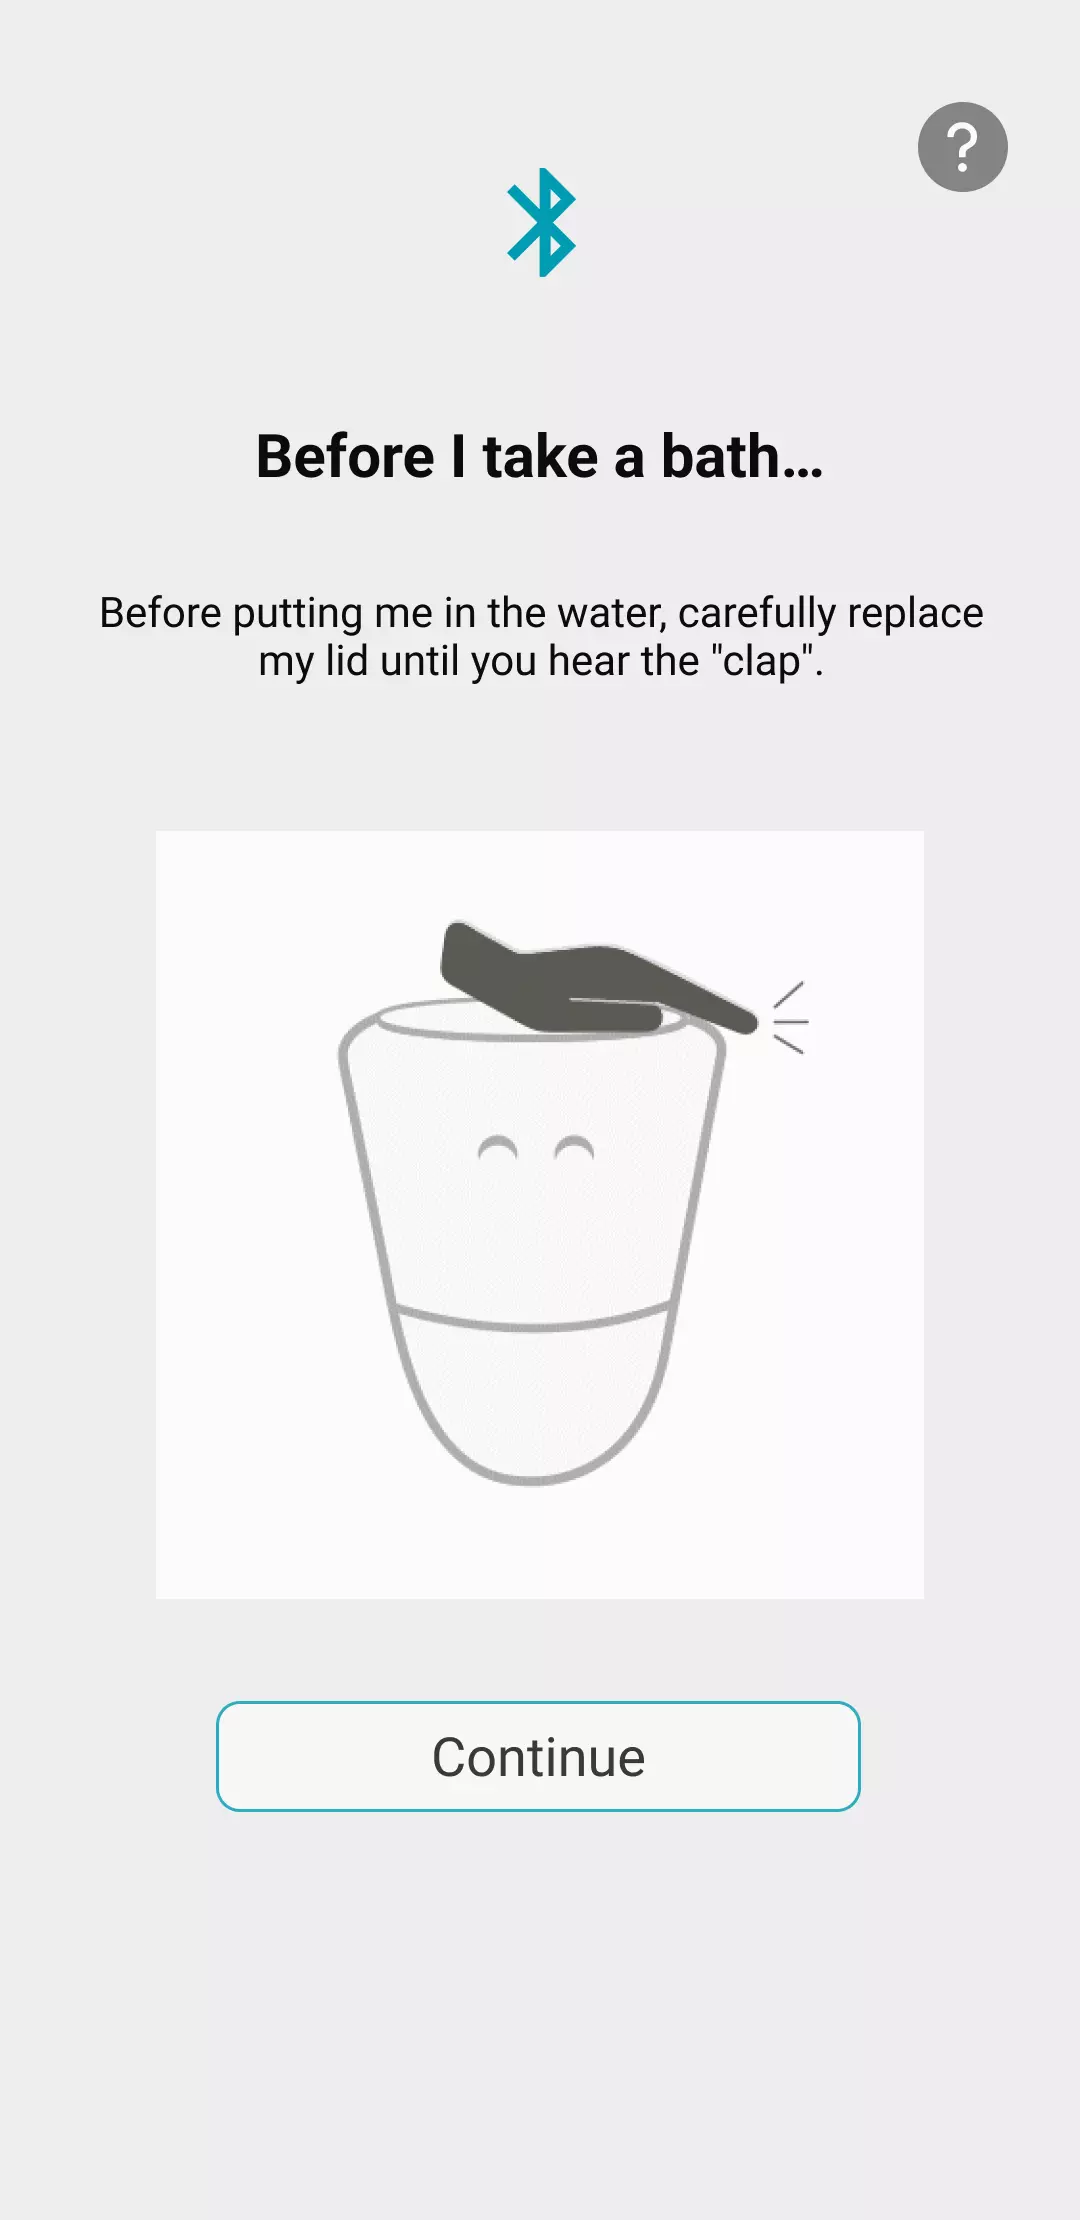
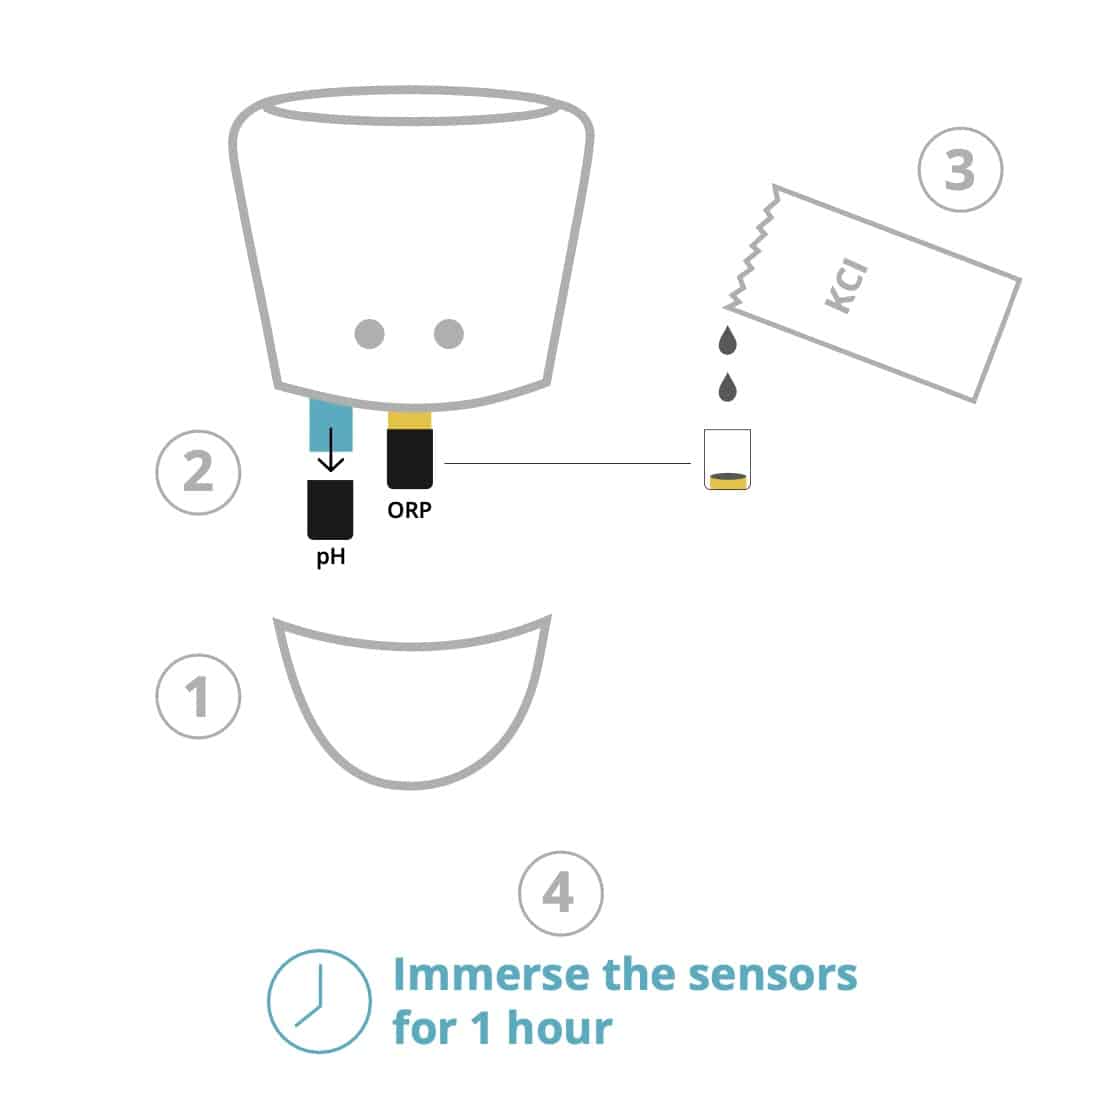
Follow the steps suggested in your application to regenerate your pH (blue sensor) and ORP (yellow / orange) sensors. The TDS sensor (gray) is not affected by this step.
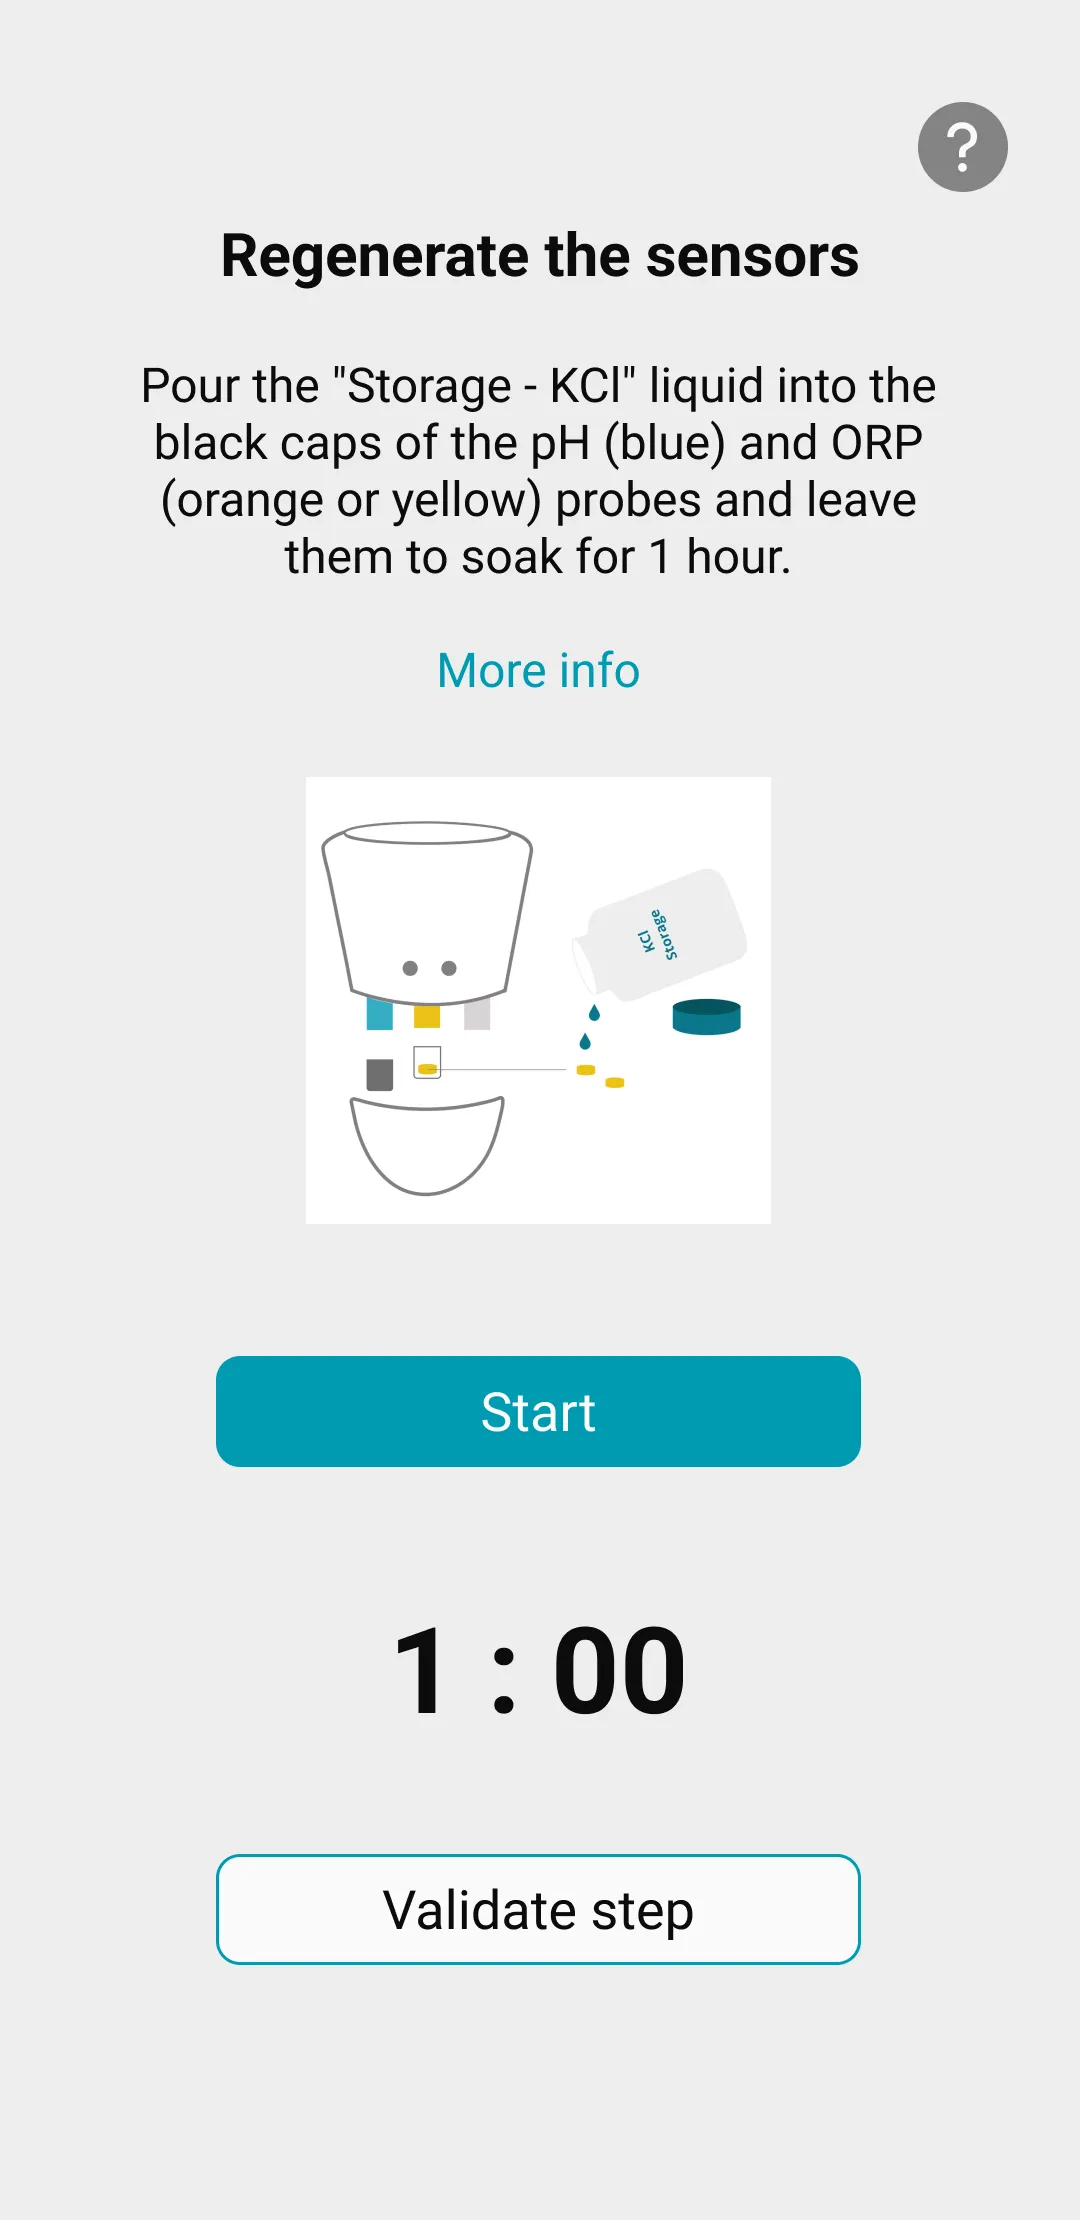
Continue with the rest of the installation by following the instructions in the ICO application.
You can now immerse ICO in water.
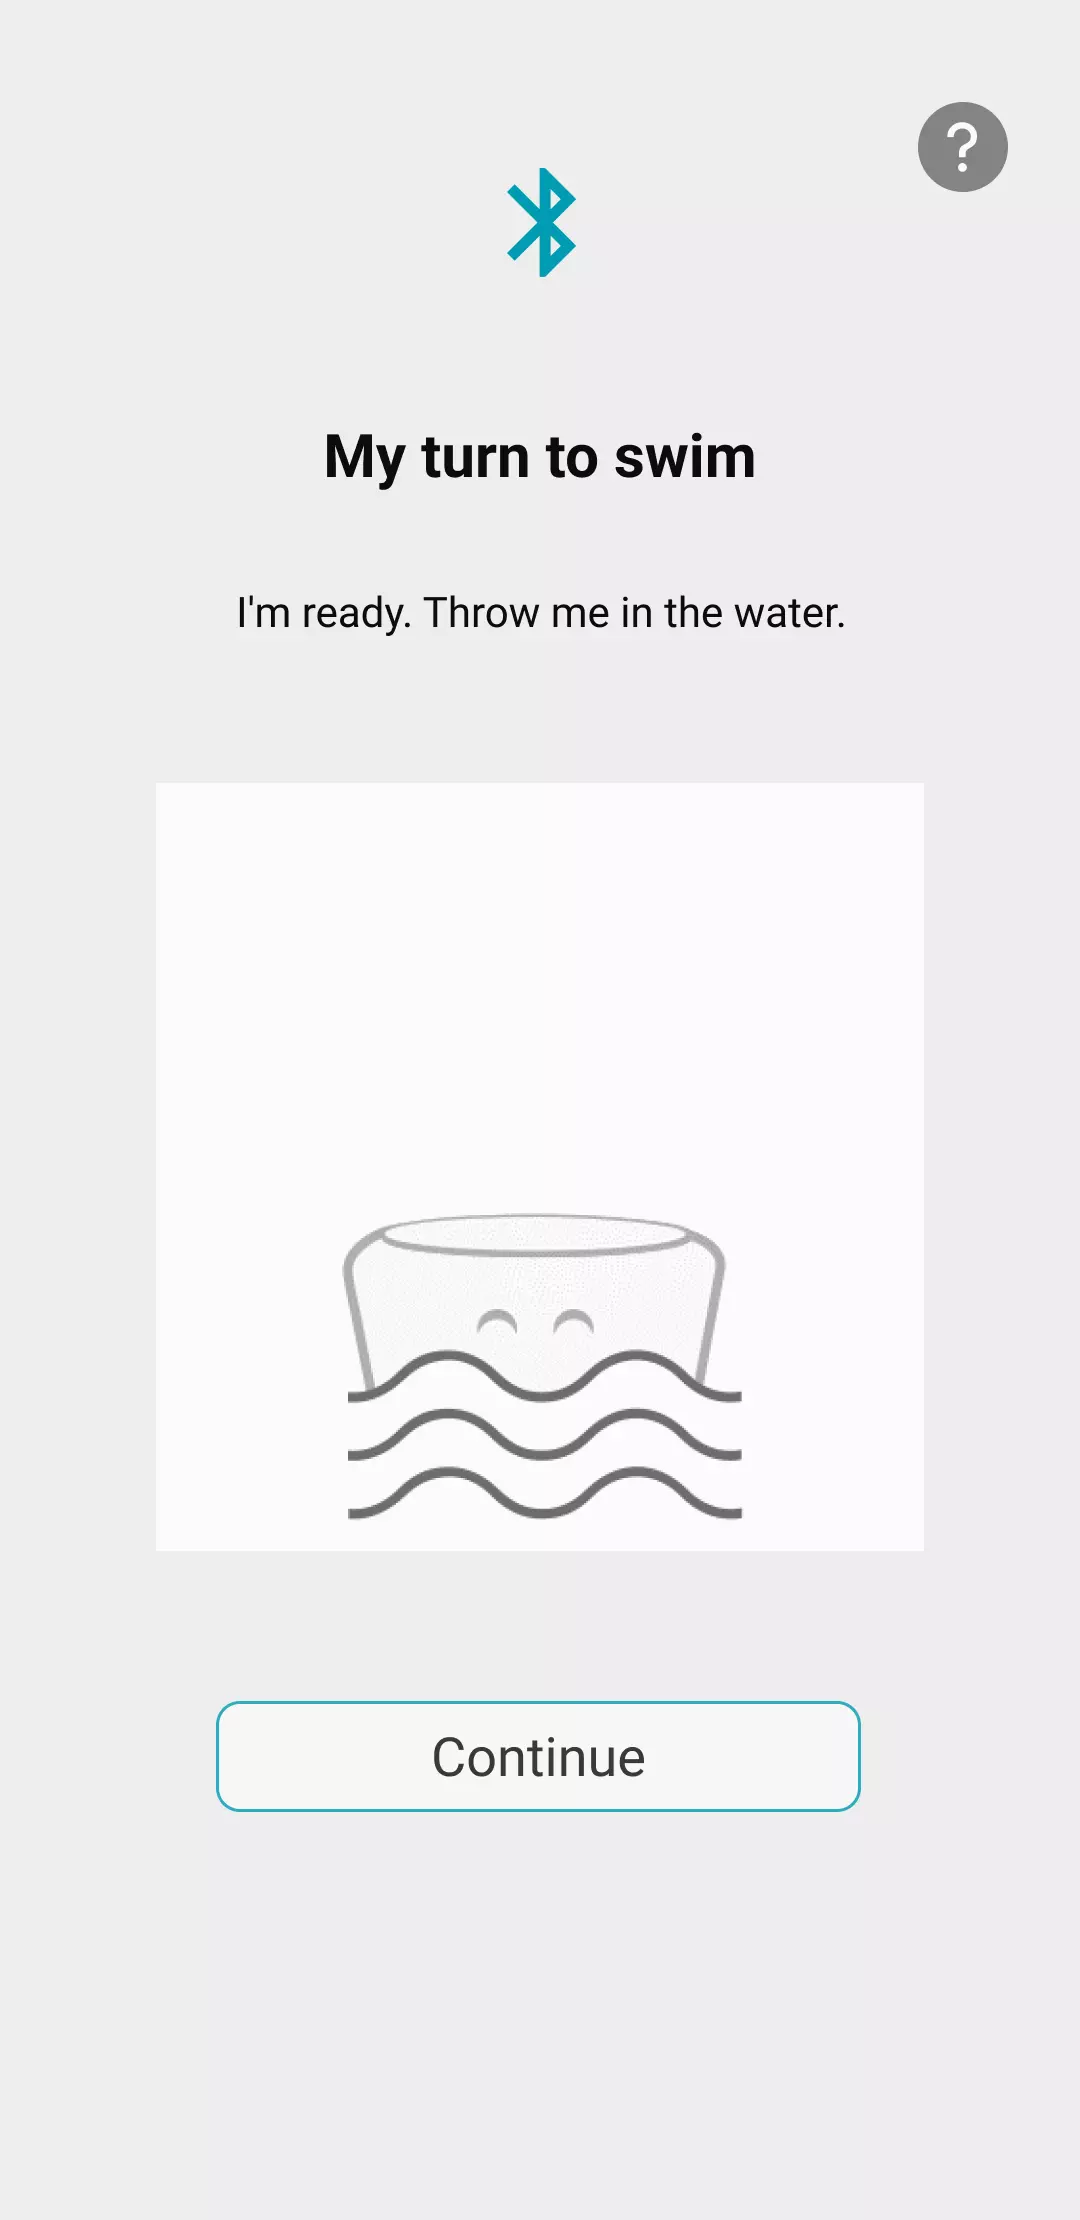
Click on Continue to connect your ICO to the wifi.
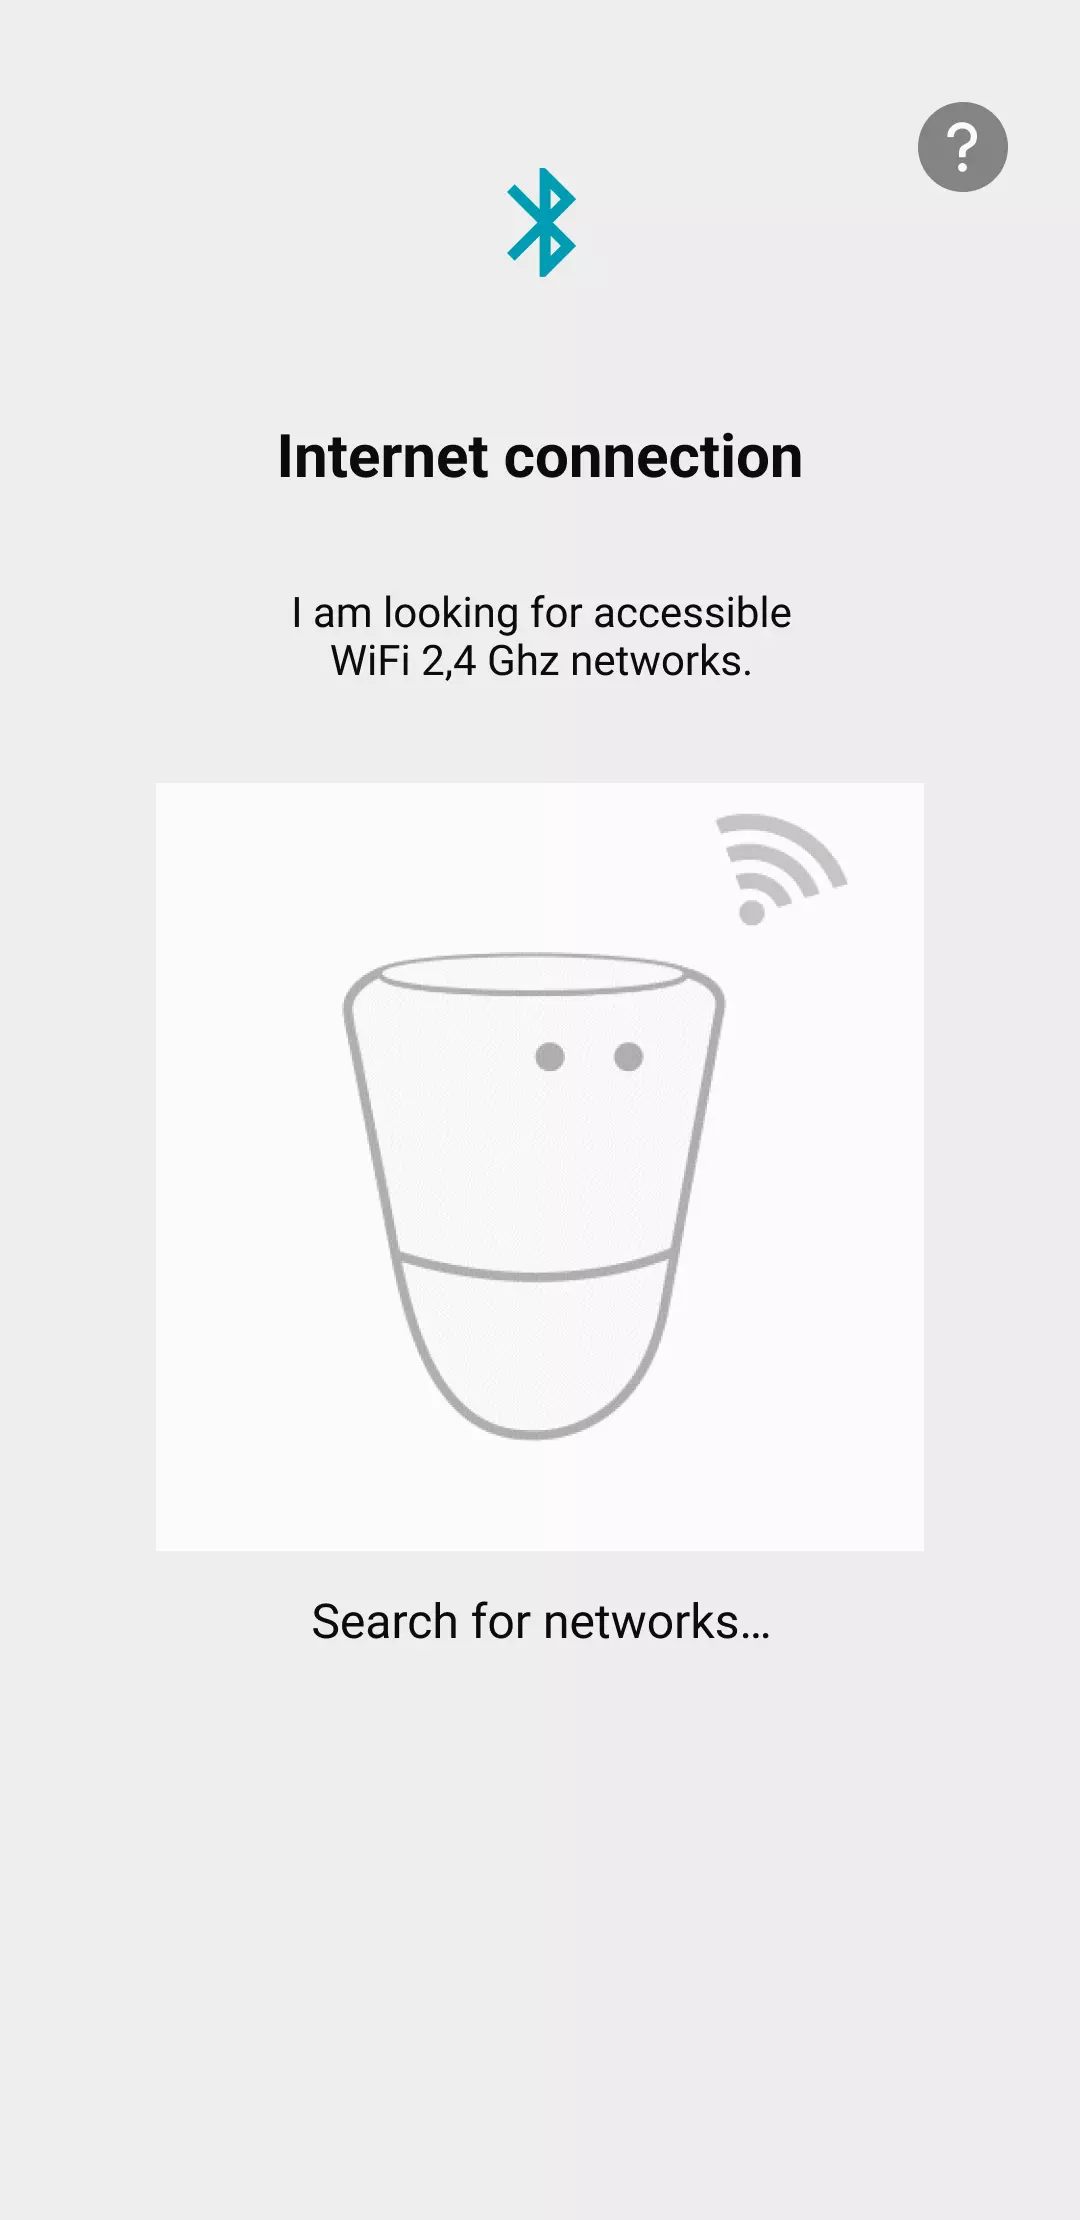
ICO will automatically search for networks around it
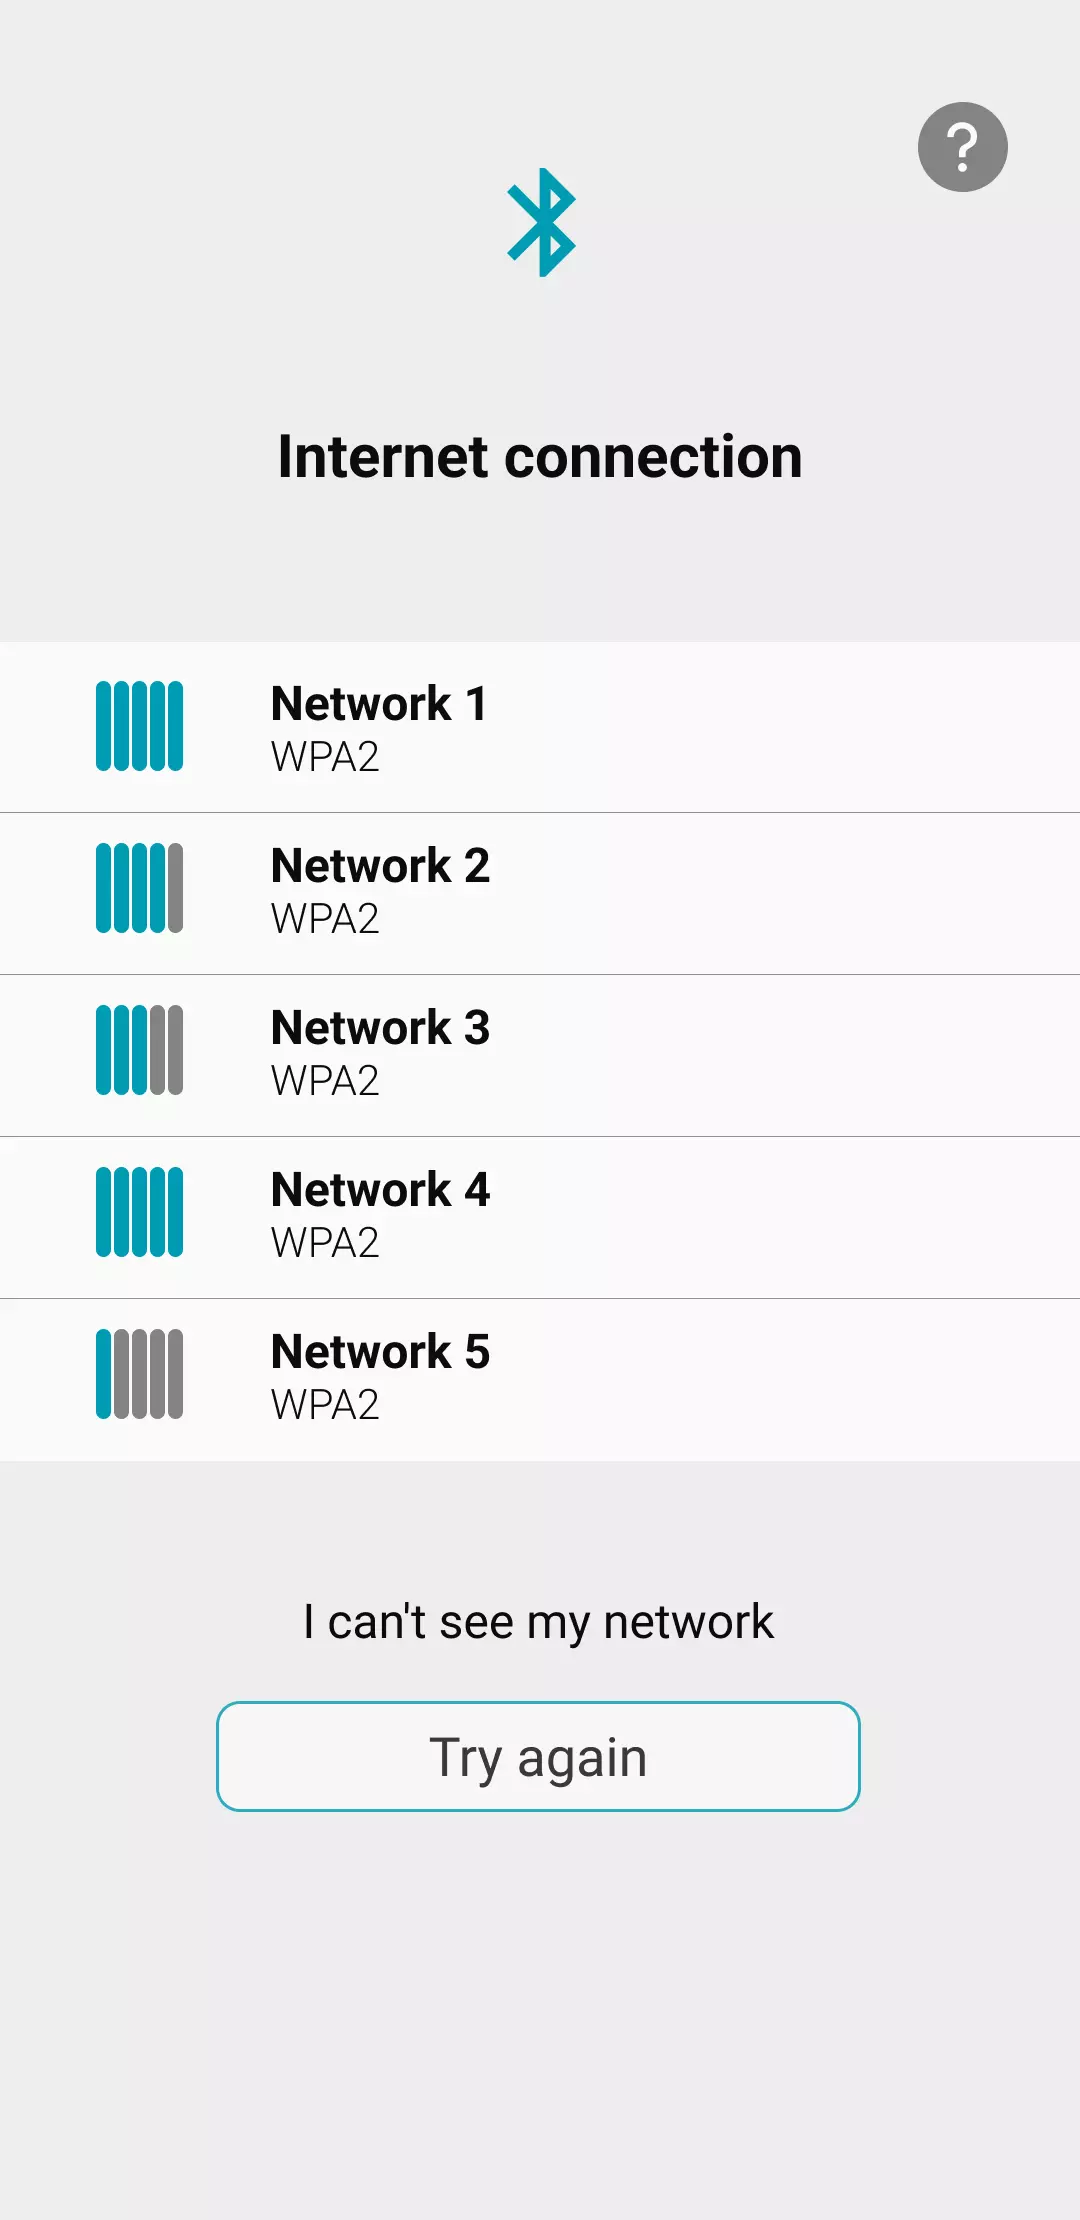
It will then suggest a list of networks. If your network does not appear in the list, click on Other network and enter your network name and security key manually.
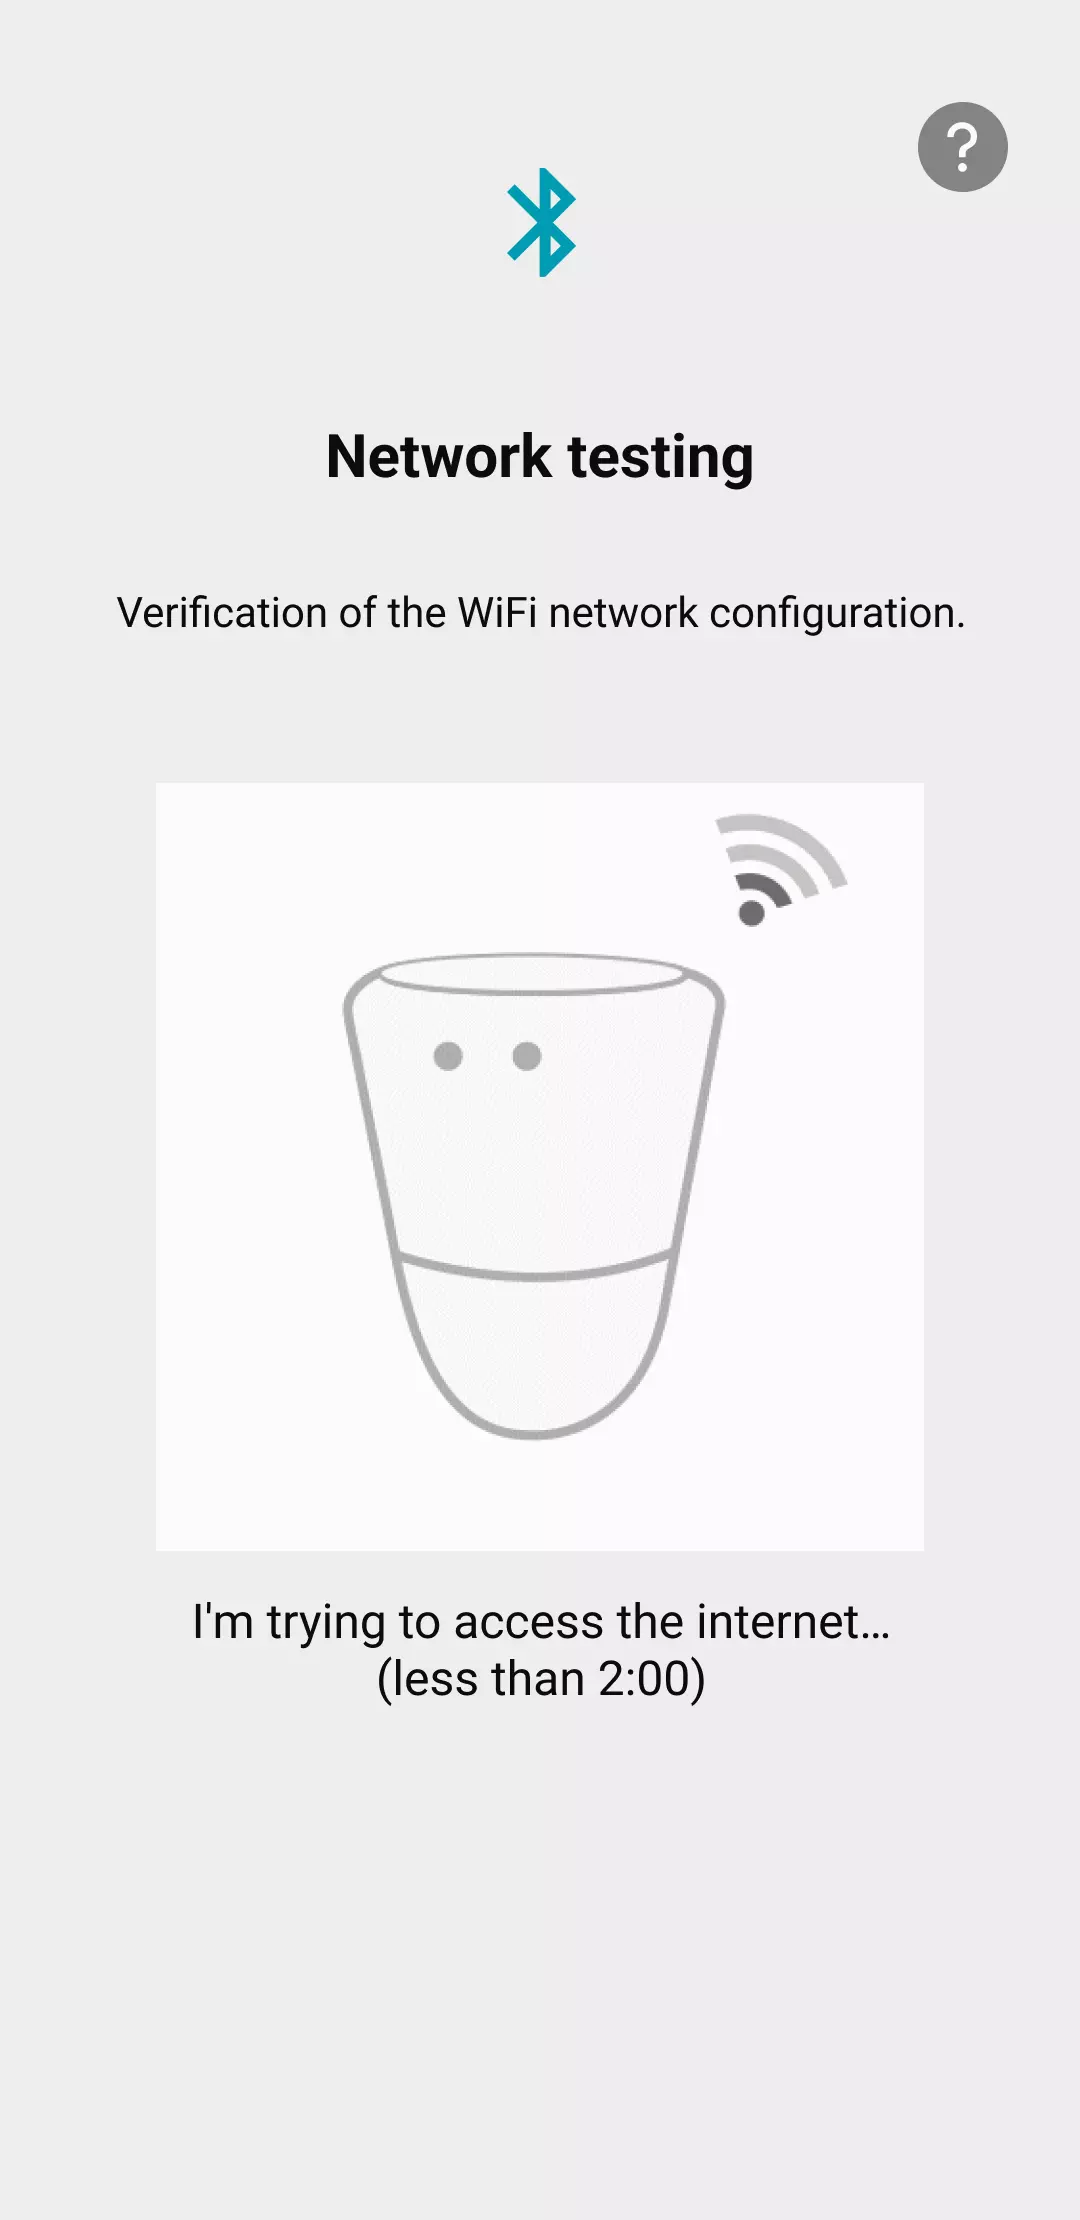
Once a network has been selected and the wifi key entered, ICO will attempt to access the internet.
A countdown shows the possible duration of this step.
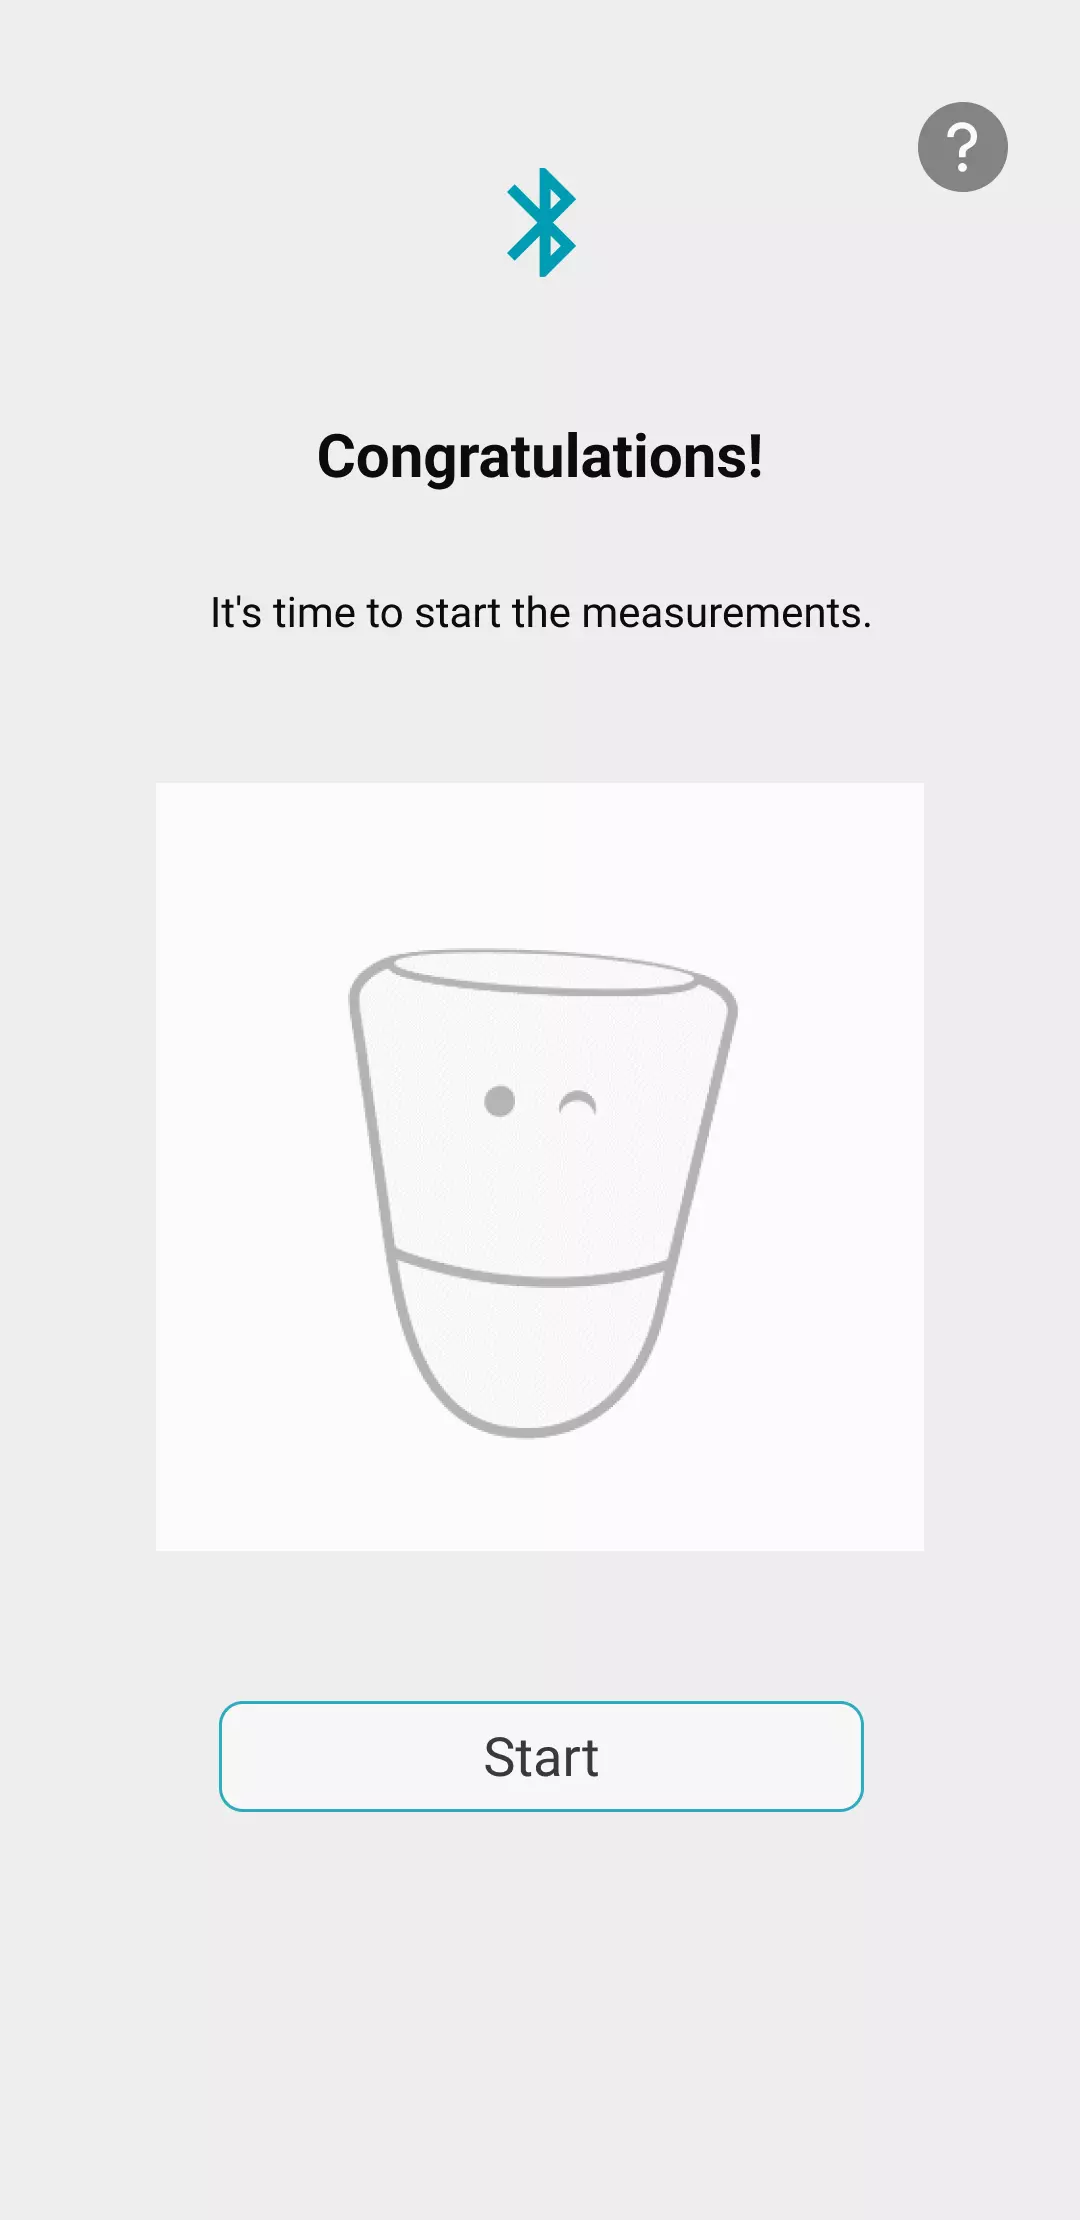
Installation is now complete, and ICO will send you its first measurements in a few minutes.
For even more personalised recommendations, click on Yes, I continue to complete the configuration of your pool / spa
